
THE PROJECT
I have always been fascinated by photography and started dabbling in picture taking at a young age. It was even the reason for receiving my degree in Advertising. Almost every piece of artwork in my house is my own and I have found some very unique ways to display it. One thing I had always wanted to do was find an old window to use as a picture frame. I had seen it done before and I thought the concept was so cool but I knew it had to be the right window and the right picture to make it worth the time and expense. It just so happens that on my 26th birthday I literally “stumbled” into what I knew was going to be my next restoration project. So Happy Birthday to me, and here goes the Window Picture Frame Restoration.
THE FIND
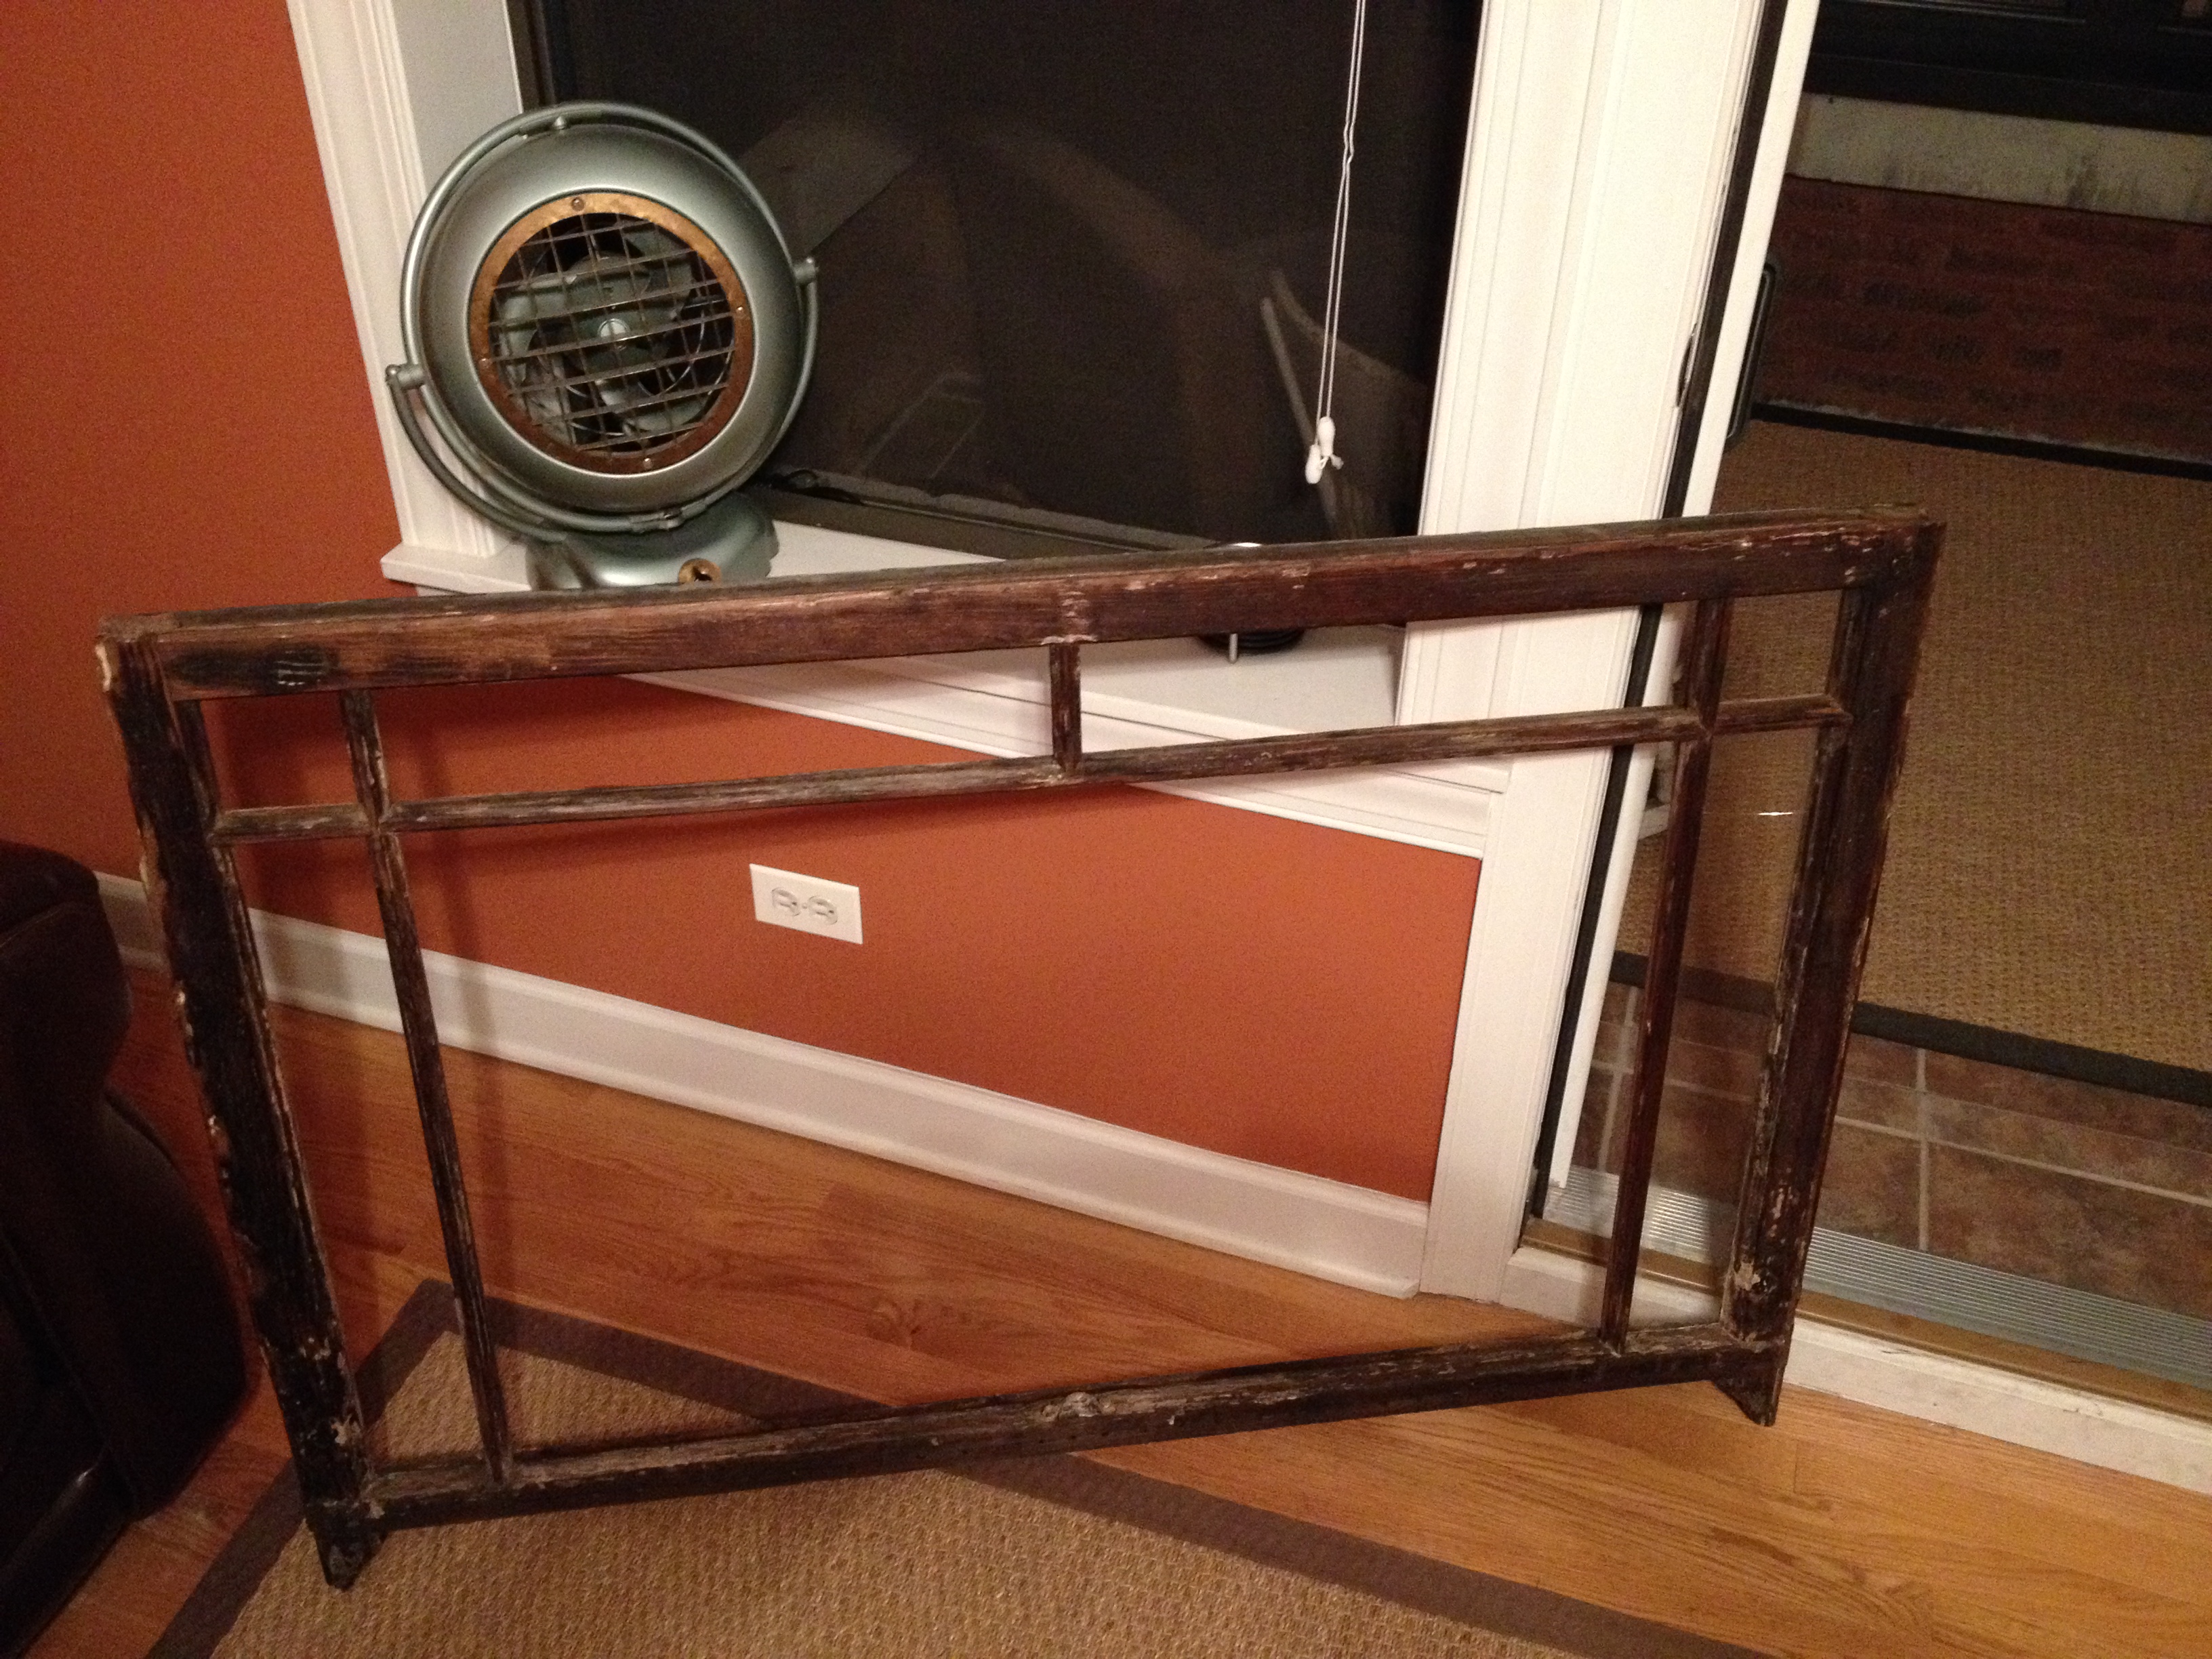
 For my 26th birthday my friends treated me to a champagne brunch. (A little secret about me, when I indulge in champagne I start to get the restoration itch!) While walking down the street I saw it, sitting in a garbage pile of old windows that were being torn out of a building was my window. I saw it as my birthday present to myself, and much to the chagrin of my friends I started dumpster diving!
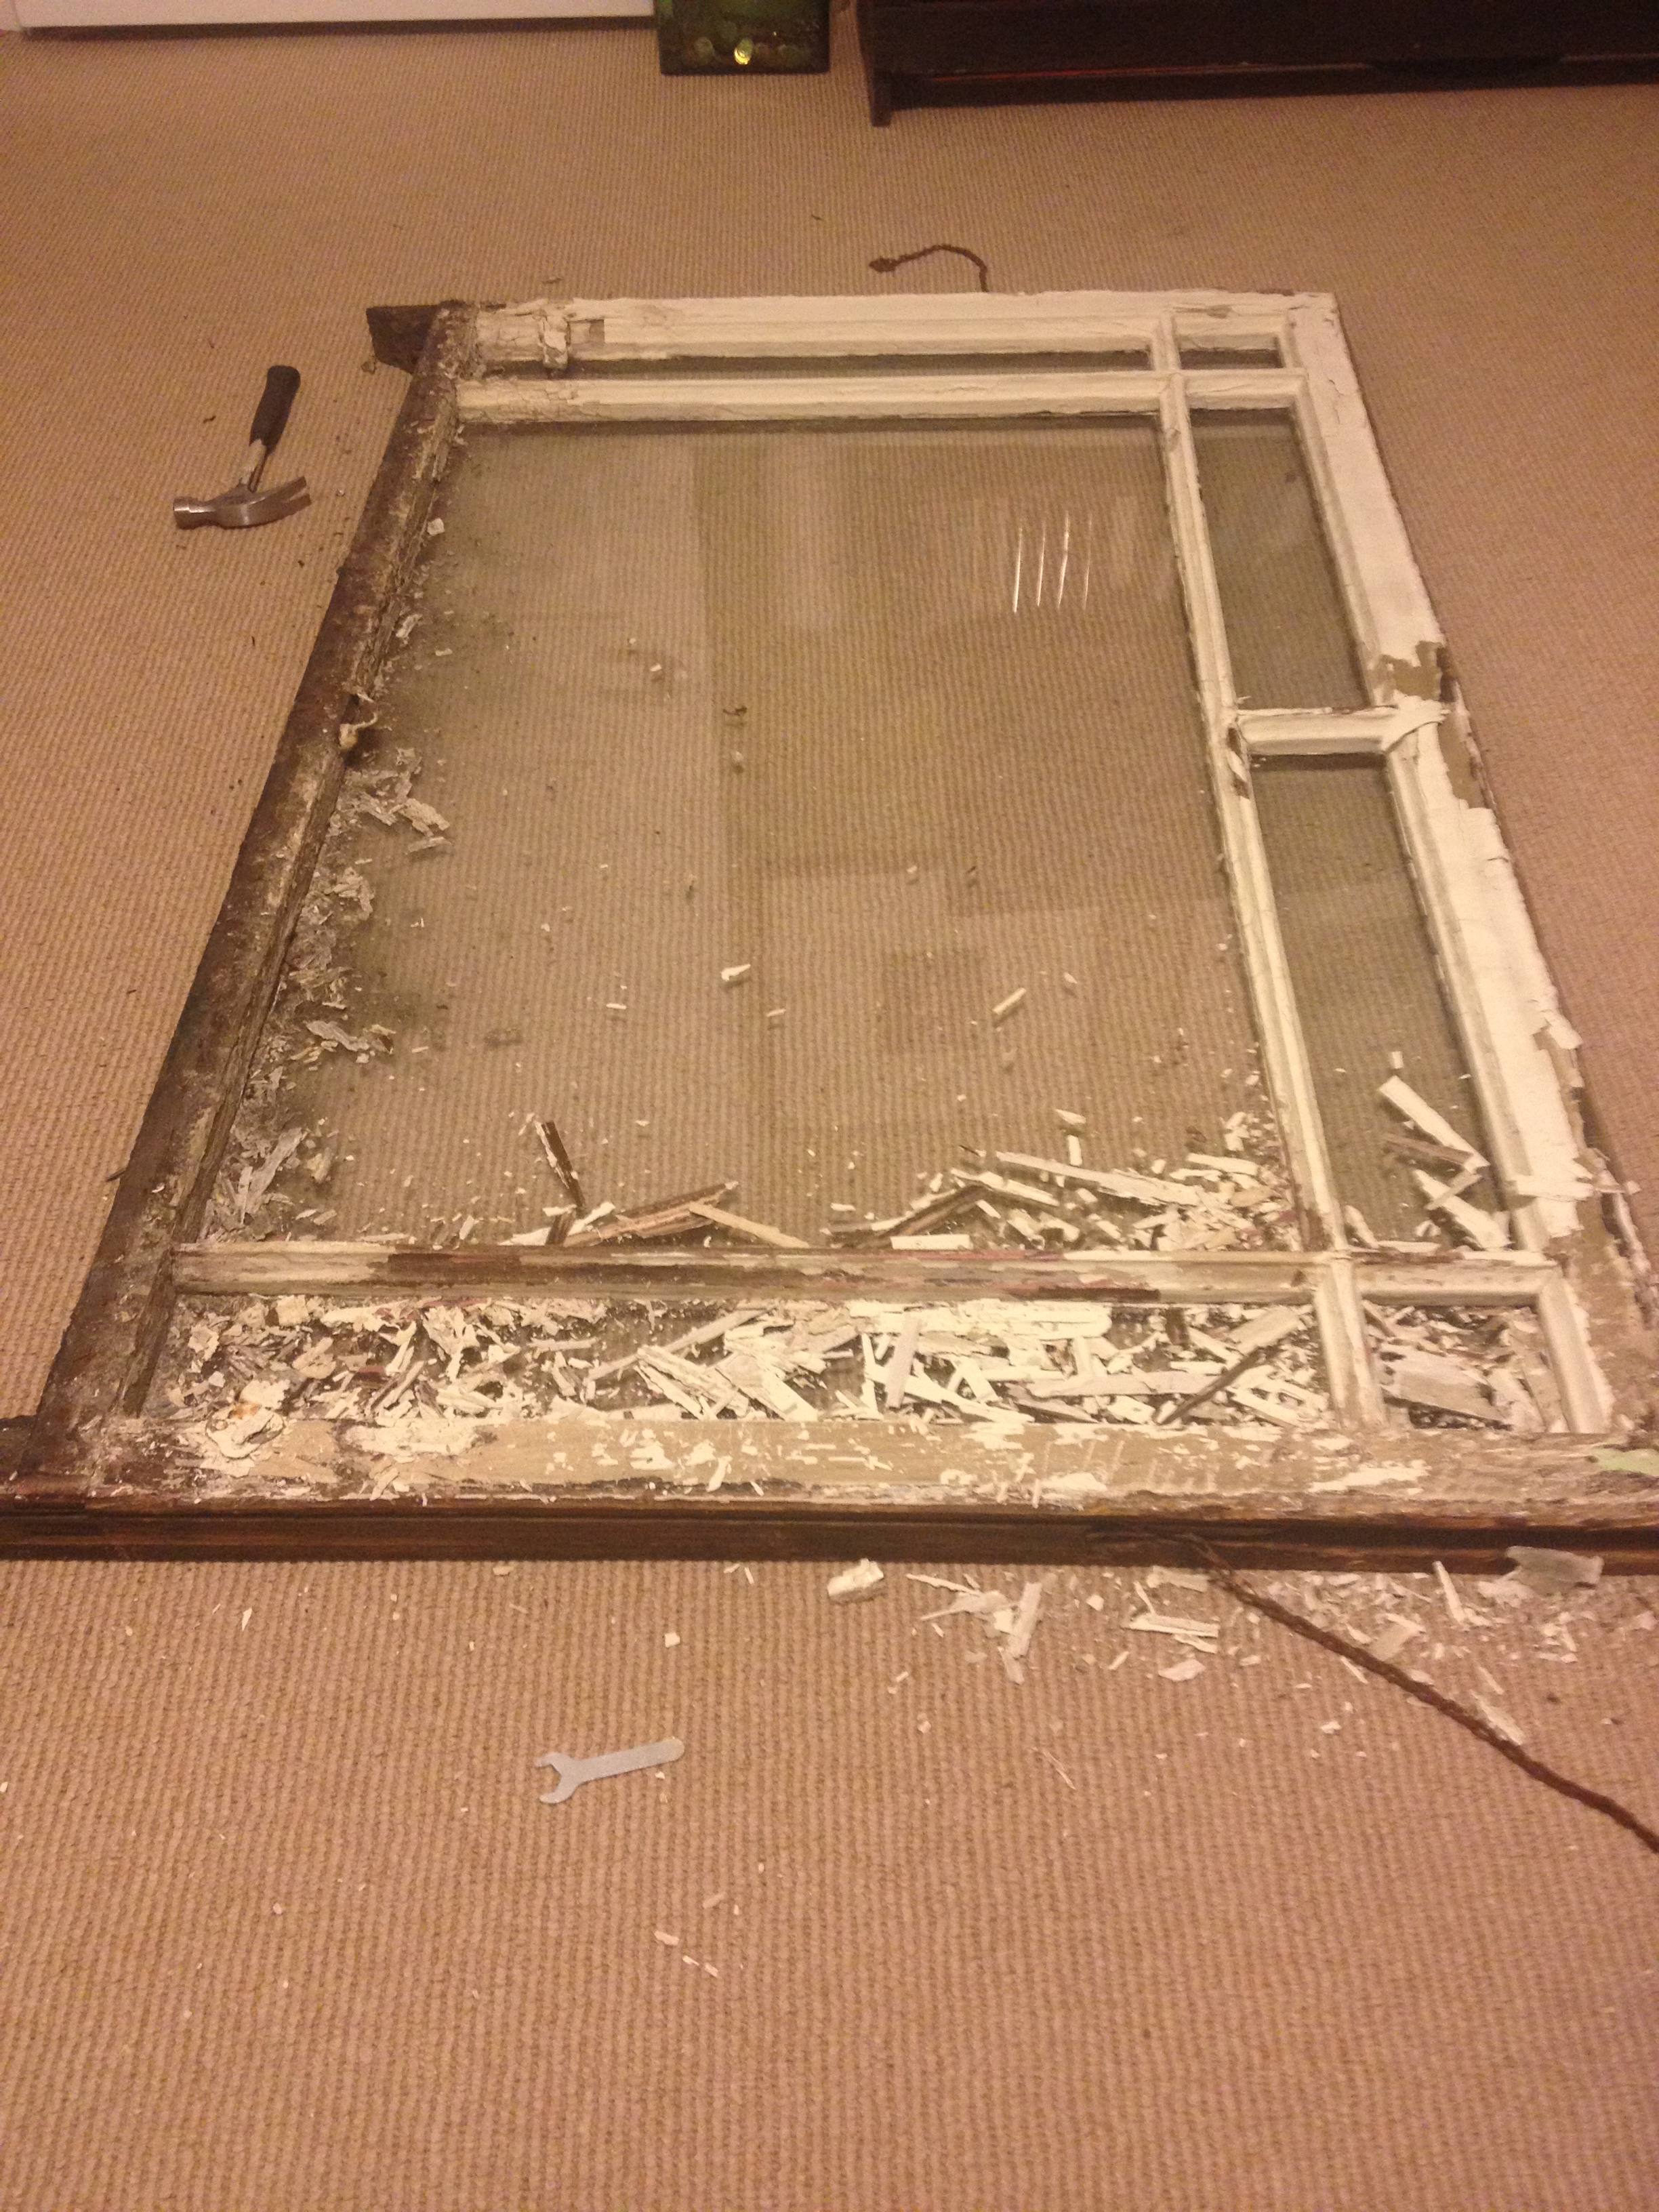
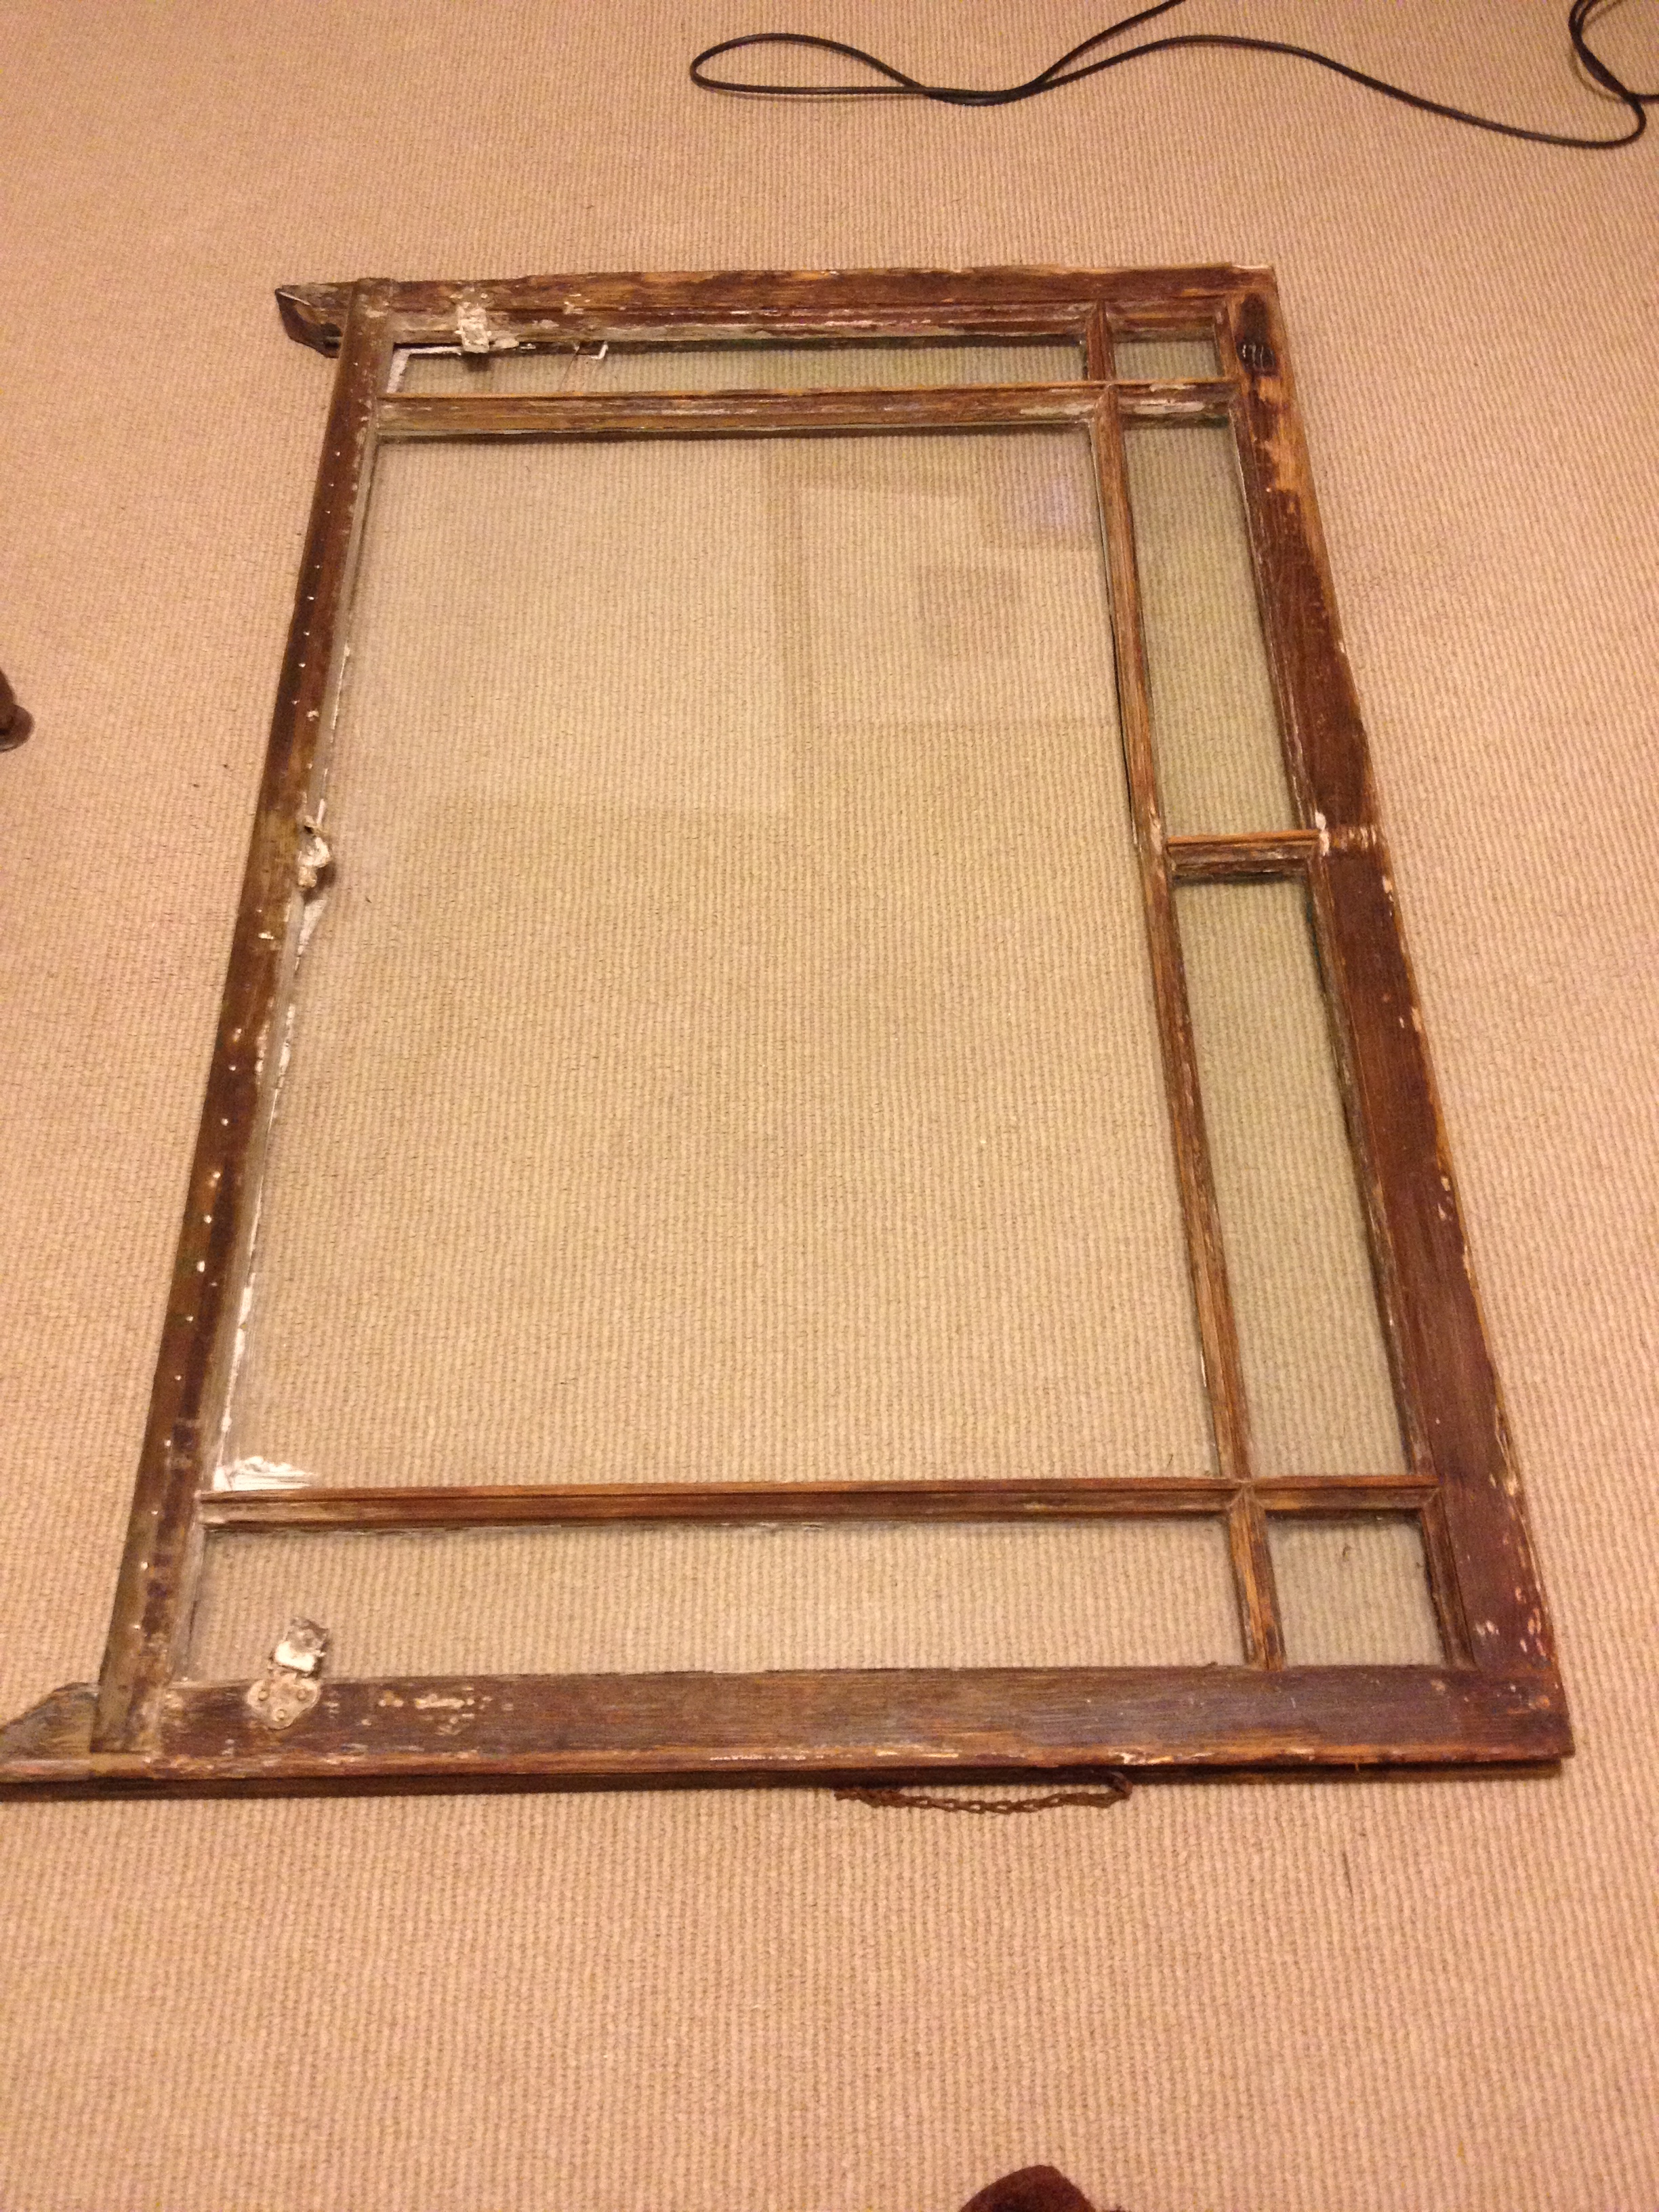
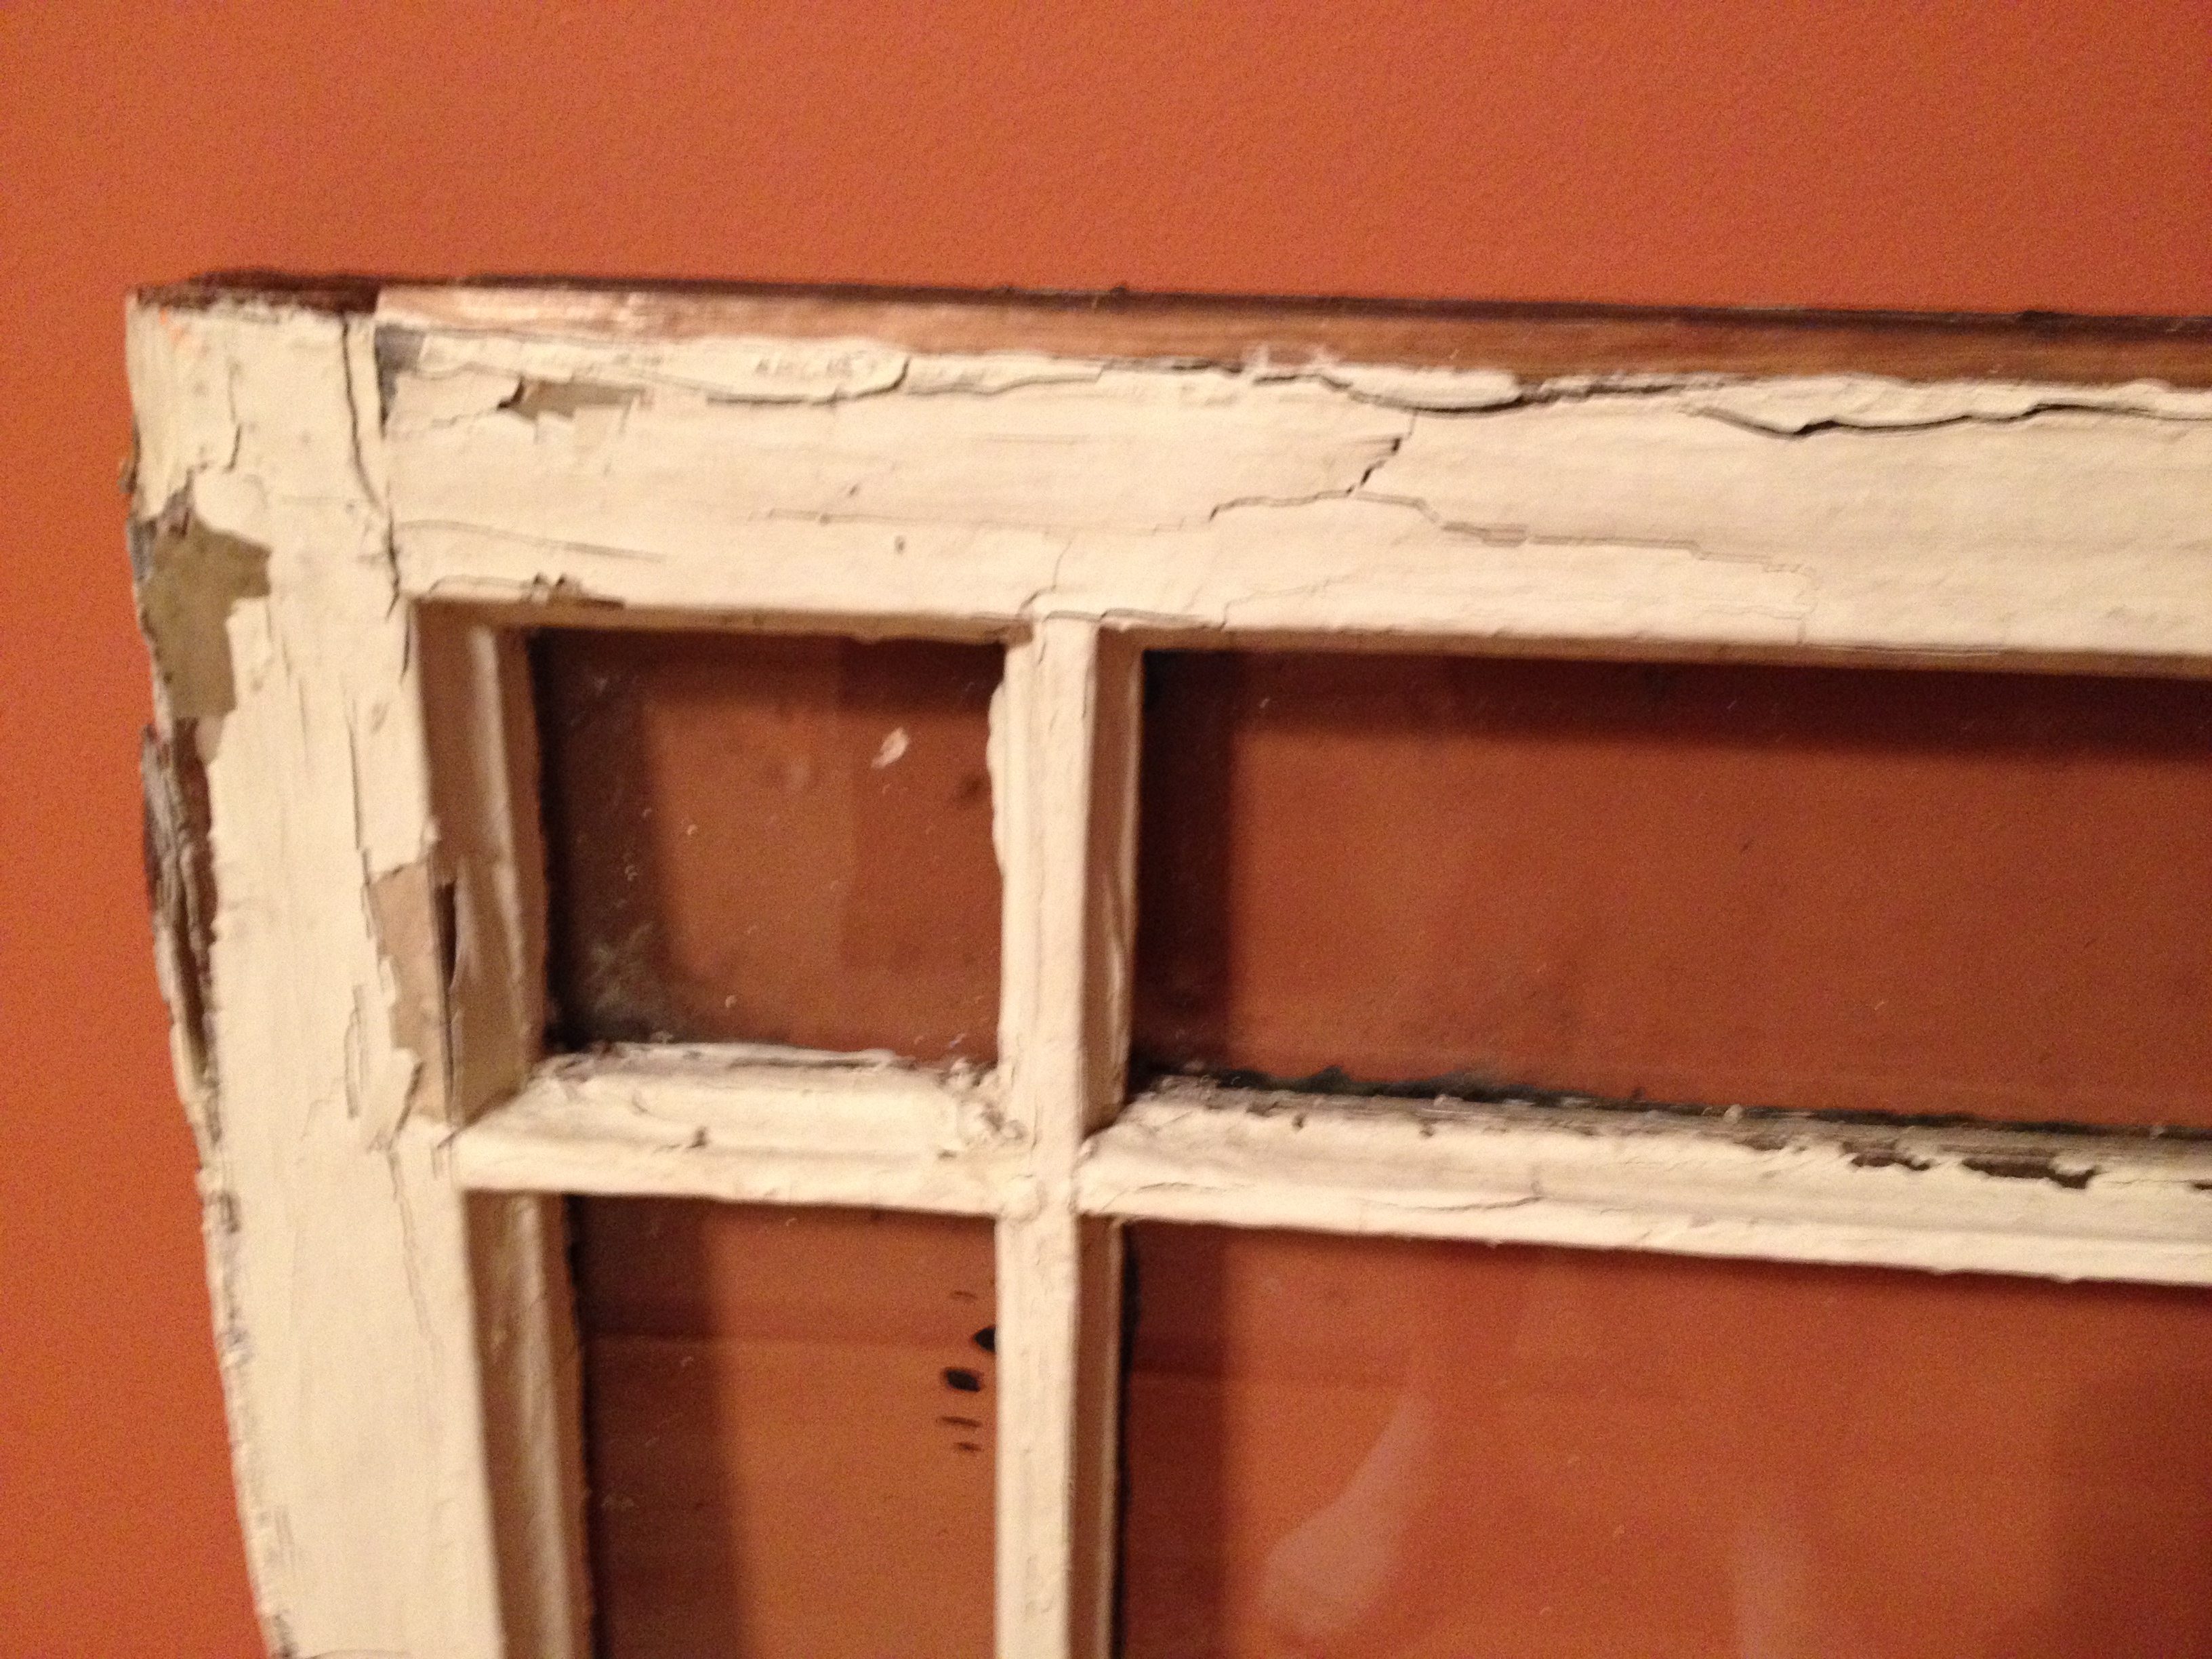 The next day when I was able to look at it with more focused eyes I realized just how cool this was. My favorite feature was that it had not only the main window pane which measured 36” x 23” but that it also had six small decorative panes around the outside edge give it a more unique quality
 Step 1: Scraping – The first thing I had to do was start scraping through the layers of paint that were flaking off so I could see:
A. How many layers I was dealing with
B. If scraping would be enough or if I would have to use paint stripper as well and
C. What color / stain the original window was underneath. For this I used a simple paint scraper and some smaller wire brushes, but I quickly learned that was not going to be enough. There were a total of 7 different layers I could see just from scraping and I didn’t even get to the natural wood color. This meant that there would be paint stripping in the near future.
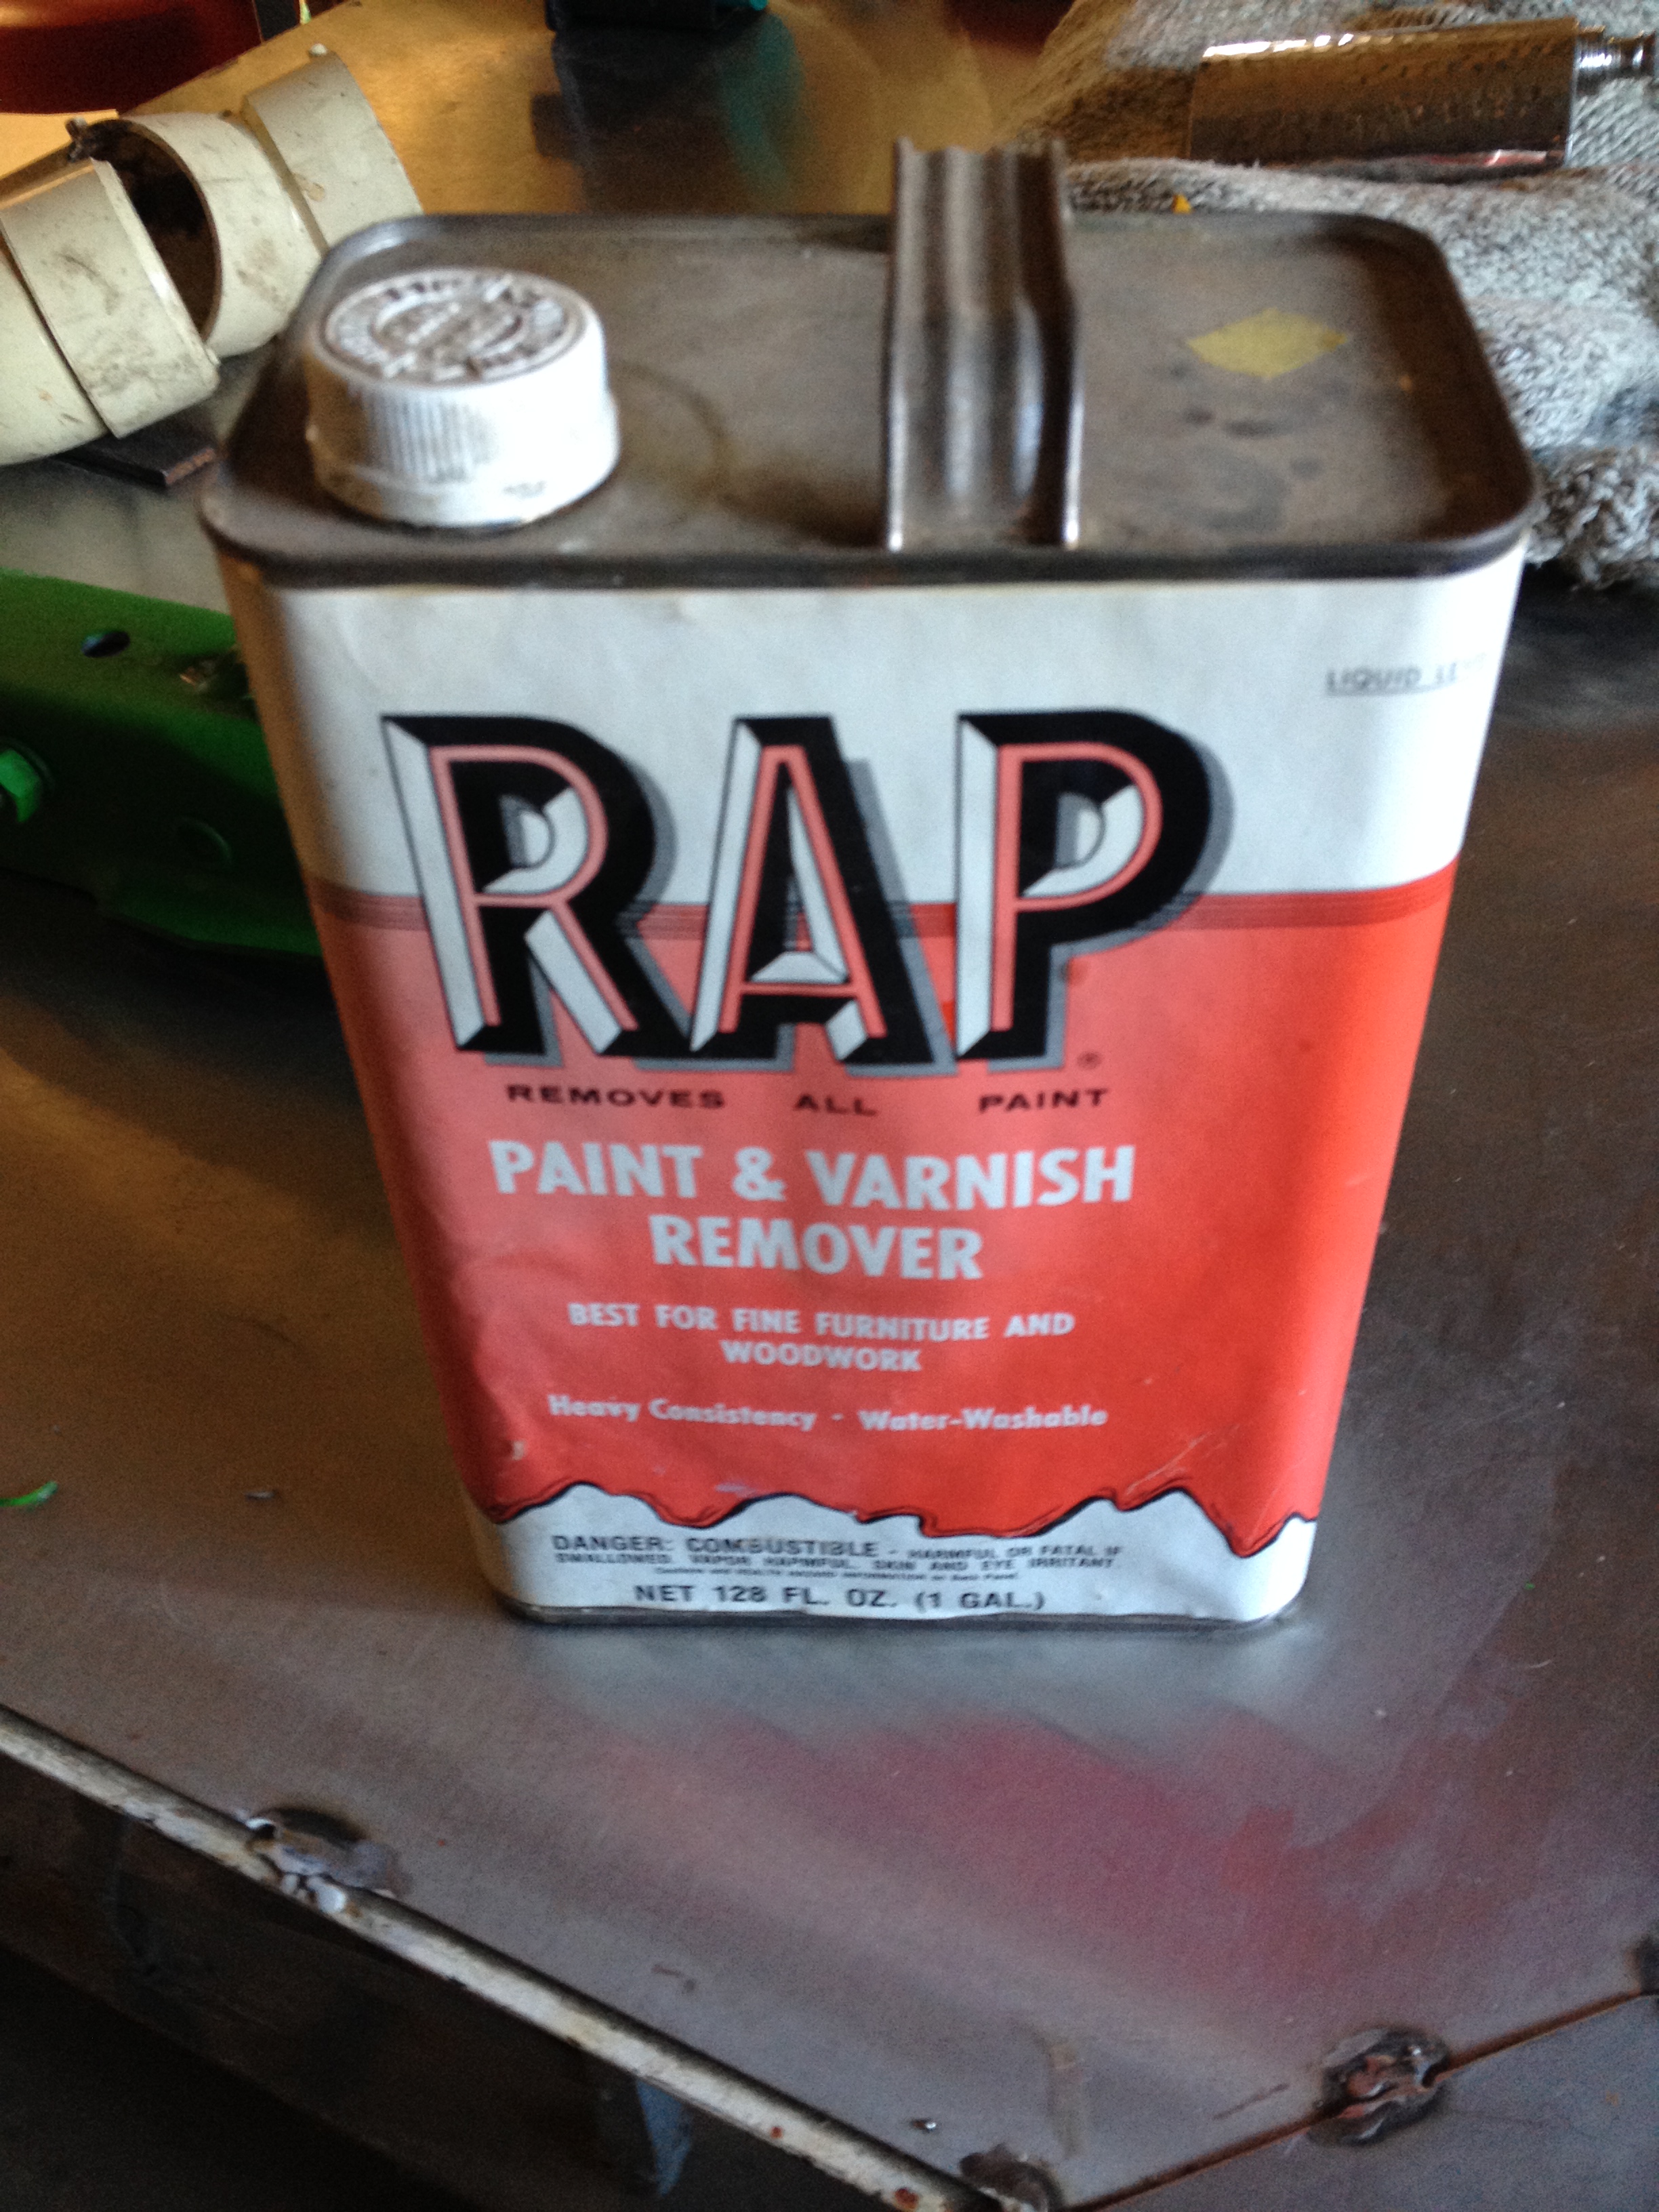 Step 2: Paint Stripping – If you have never done paint stripping I am going to let you in on a little secret. Slow and steady wins the race! This is a lesson it took me a long time, and a lot of teasing from my dad and uncle to learn. Basically paint stripping is a chemical process that releases and bubbles paint from whatever surface it is attached to, which in this case, was my wooden window. You need to do this in an area where there is a lot of airflow and wear some kind of gloves. My favorite paint stripper is called RAP and while it is difficult to find its worth every penny.
R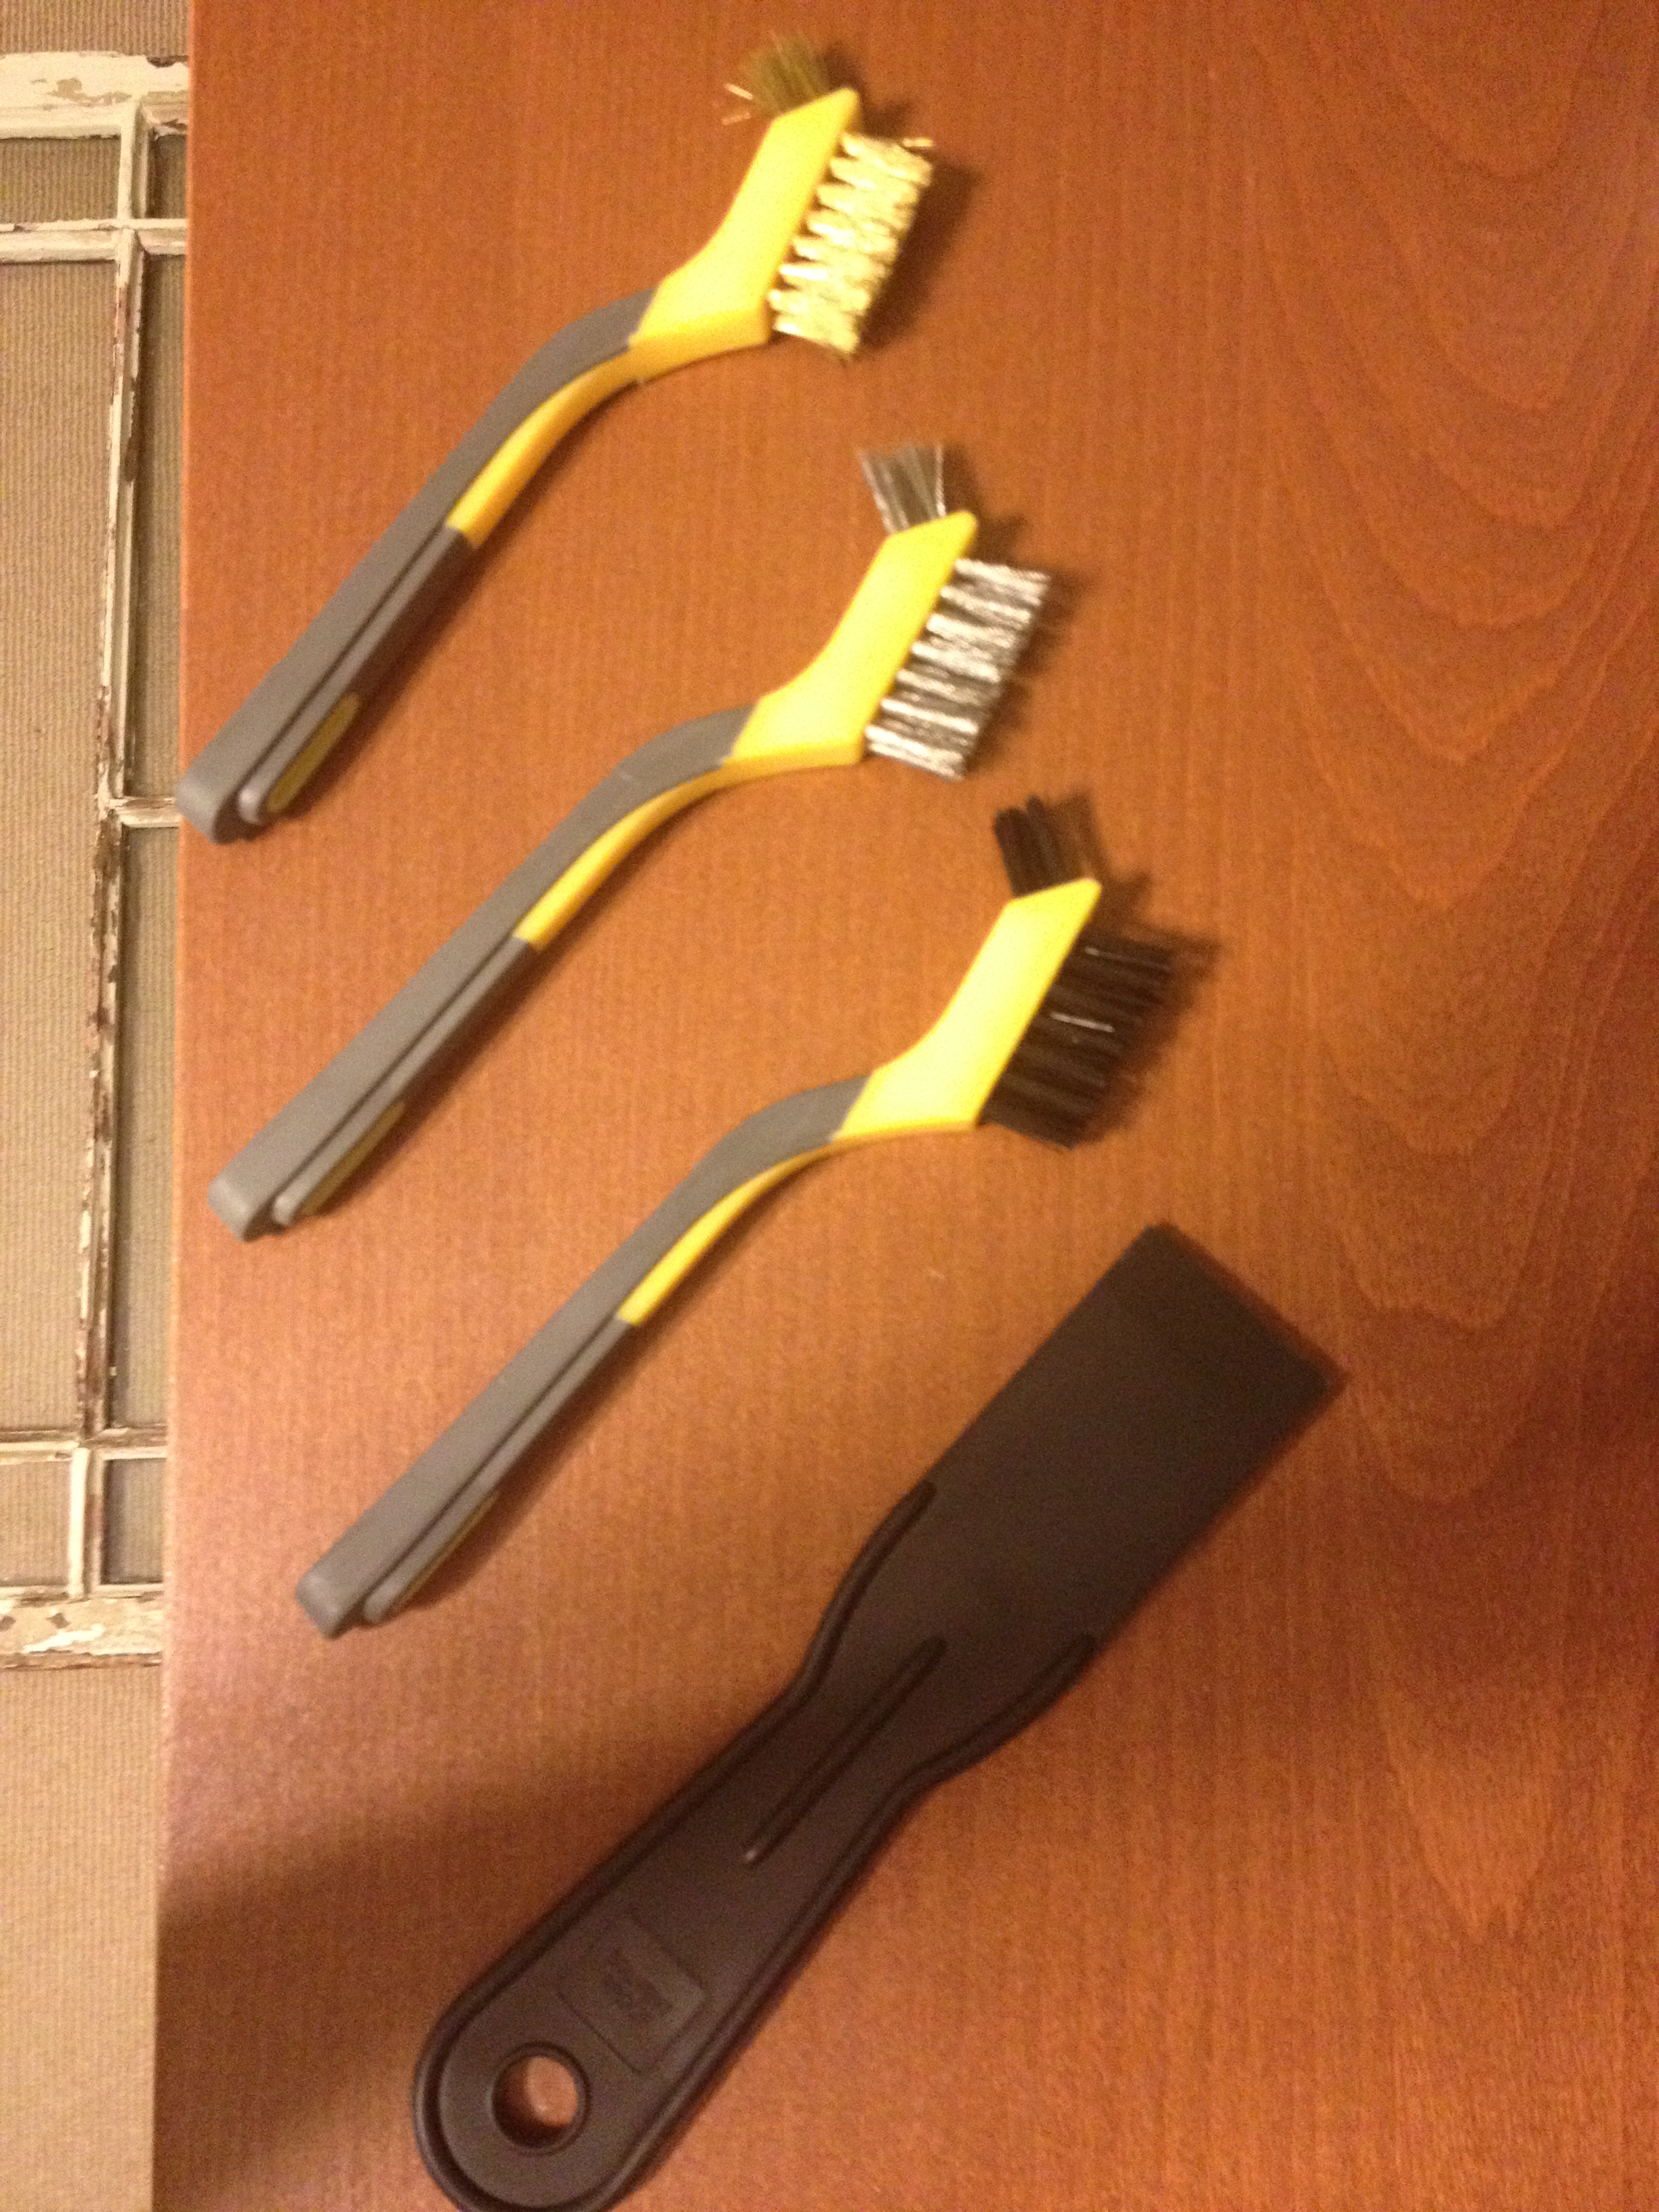 ap Products Inc. – 500 Germania St, Bay City, MI 48706 – (989) 893-5583
The rest of this process is slow and tedious. Start with small sections at a time, apply the paint remover let it sit for 15-30 minutes depending on the number of layers and paint type then come back and scrape. Then repeat. This process took me several days to complete as I had time. Towards the end I was actually applying the RAP in small areas and using a wire brush to get the paint out of the nooks and crannies.
I should mention before we move on to the next step that I wanted to get rid of 99.5 percent of the paint. The image I had in my mind was of a rustic window that was down to the wood but I did not want it to be perfect. As a piece of artwork, I wanted to be able to tell the story behind it and have people know that it was pulled from the alley and rehabbed. I was not restoring it to go back into a window. I was very happy with the result after the paint was removed.
Step 3: Removing the Glass Panes – This was the most delicate process of the whole project. I had to remove the glass so that I could make sure all of the paint was cleaned off the edges. Since it was going to be a picture frame I did not want anything interfering with the image that would be behind the glass. To do this I had to flip the window over and work from the backside. These old windows actually had the pains of glass set into the ridge of the woodwork that were held in by small triangle metal pieces called Glazing Points. So to remove the glass I had to go along all of the edges of the panes to find and remove them with needle nose pliers. It is essential to find all of them because if you try to remove a pane of glass and one is still in, it could end up cracking the glass. Which, did happen to me…
After taking out the glass panes I actually filled up the bathtub with warm water and soaked them in there so it would make scraping the residual paint off easier. Then it was as simple as laying them down and cleaning them with glass cleaner. Also, with the glass removed I was able to clean out the ridges of the woodwork where the panes would fit back into.
One more thing to add about this step is you have to be sure you are very careful with the edges of these old glass panes. Older windows were not built with the intention of having the glass removed so they have very sharp edges that are often times not even squared off. I cut myself several times before I finally realized a pair of work gloves was probably the best way to go.
Step 4: Staining and Sealing the Wood – I didn’t actually want to change the color of the wood I just wanted to hide some of the blemishes. So what I did when I say “staining” was actually just taking some Old English on a rag and I did a once over of the window to even out some of the color. Then, to make sure that the wood wasn’t rough or would fade at all in the light or dry air, I put one thin coat of clear varnish on the whole thing. This was mainly just to seal and protect it but not in any way meant to make it shiny or smooth.
Step 5: Reinstalling the Glass Panes – This step was fairly simple. After the glass was cleaned and the ridges were cleared out it was easy to lay them back in place. I decided not to hold them in with Glazing Points only because it was not going to be used for an actual window but a picture frame. I bought a tube of clear caulk and went around the edge of each window placing a small bead that I would then smooth out to hold the panes in. After letting these dry for a few hours I was ready for the final step, finding the photo I wanted to enlarge.
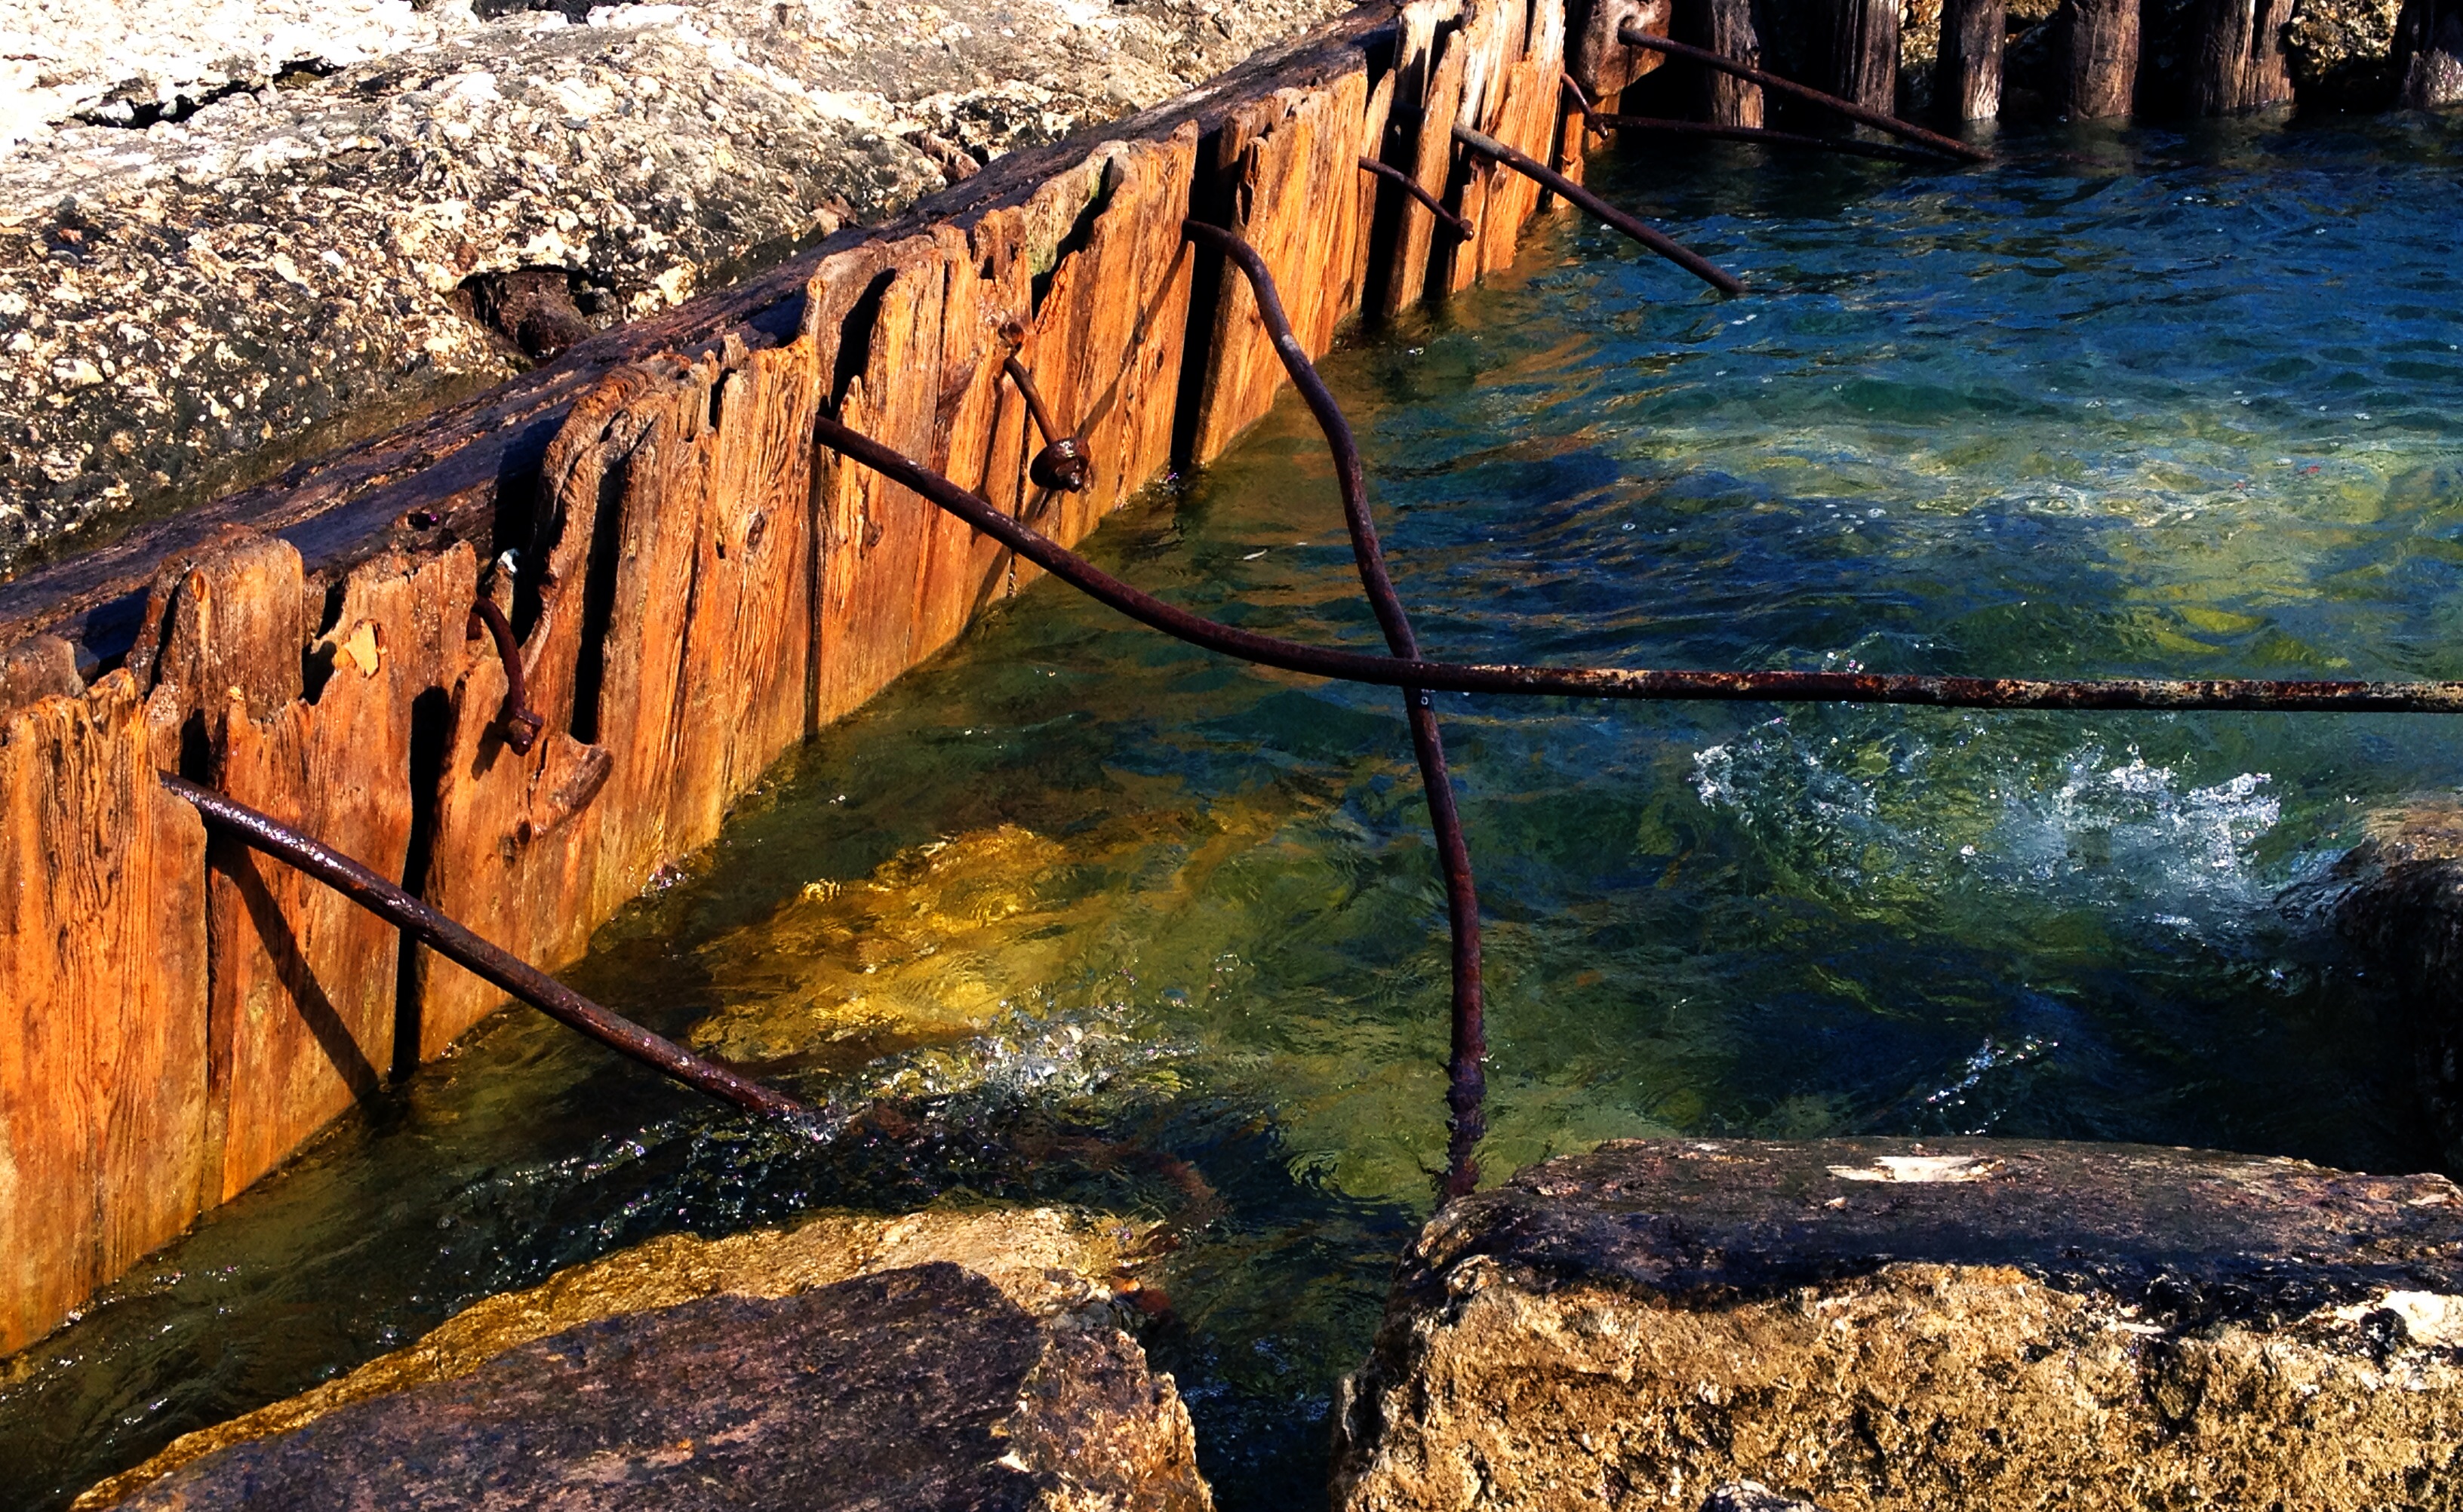 Step 6: Picking and installing the photo – I decided to go with a photo I had taken one day while out on a run. It was early morning and the sun was coming up over Lake Michigan where I had stopped to take it all in. I found the most amazing stretch of crumbling sea wall that when photographed mixed wood, rusted metal and rock with the addition of the clear water it was perfect! It combined my love of water with ruins / restoration and I figured it would be the perfect image for my rehabbed, Rustic Window Picture Frame.
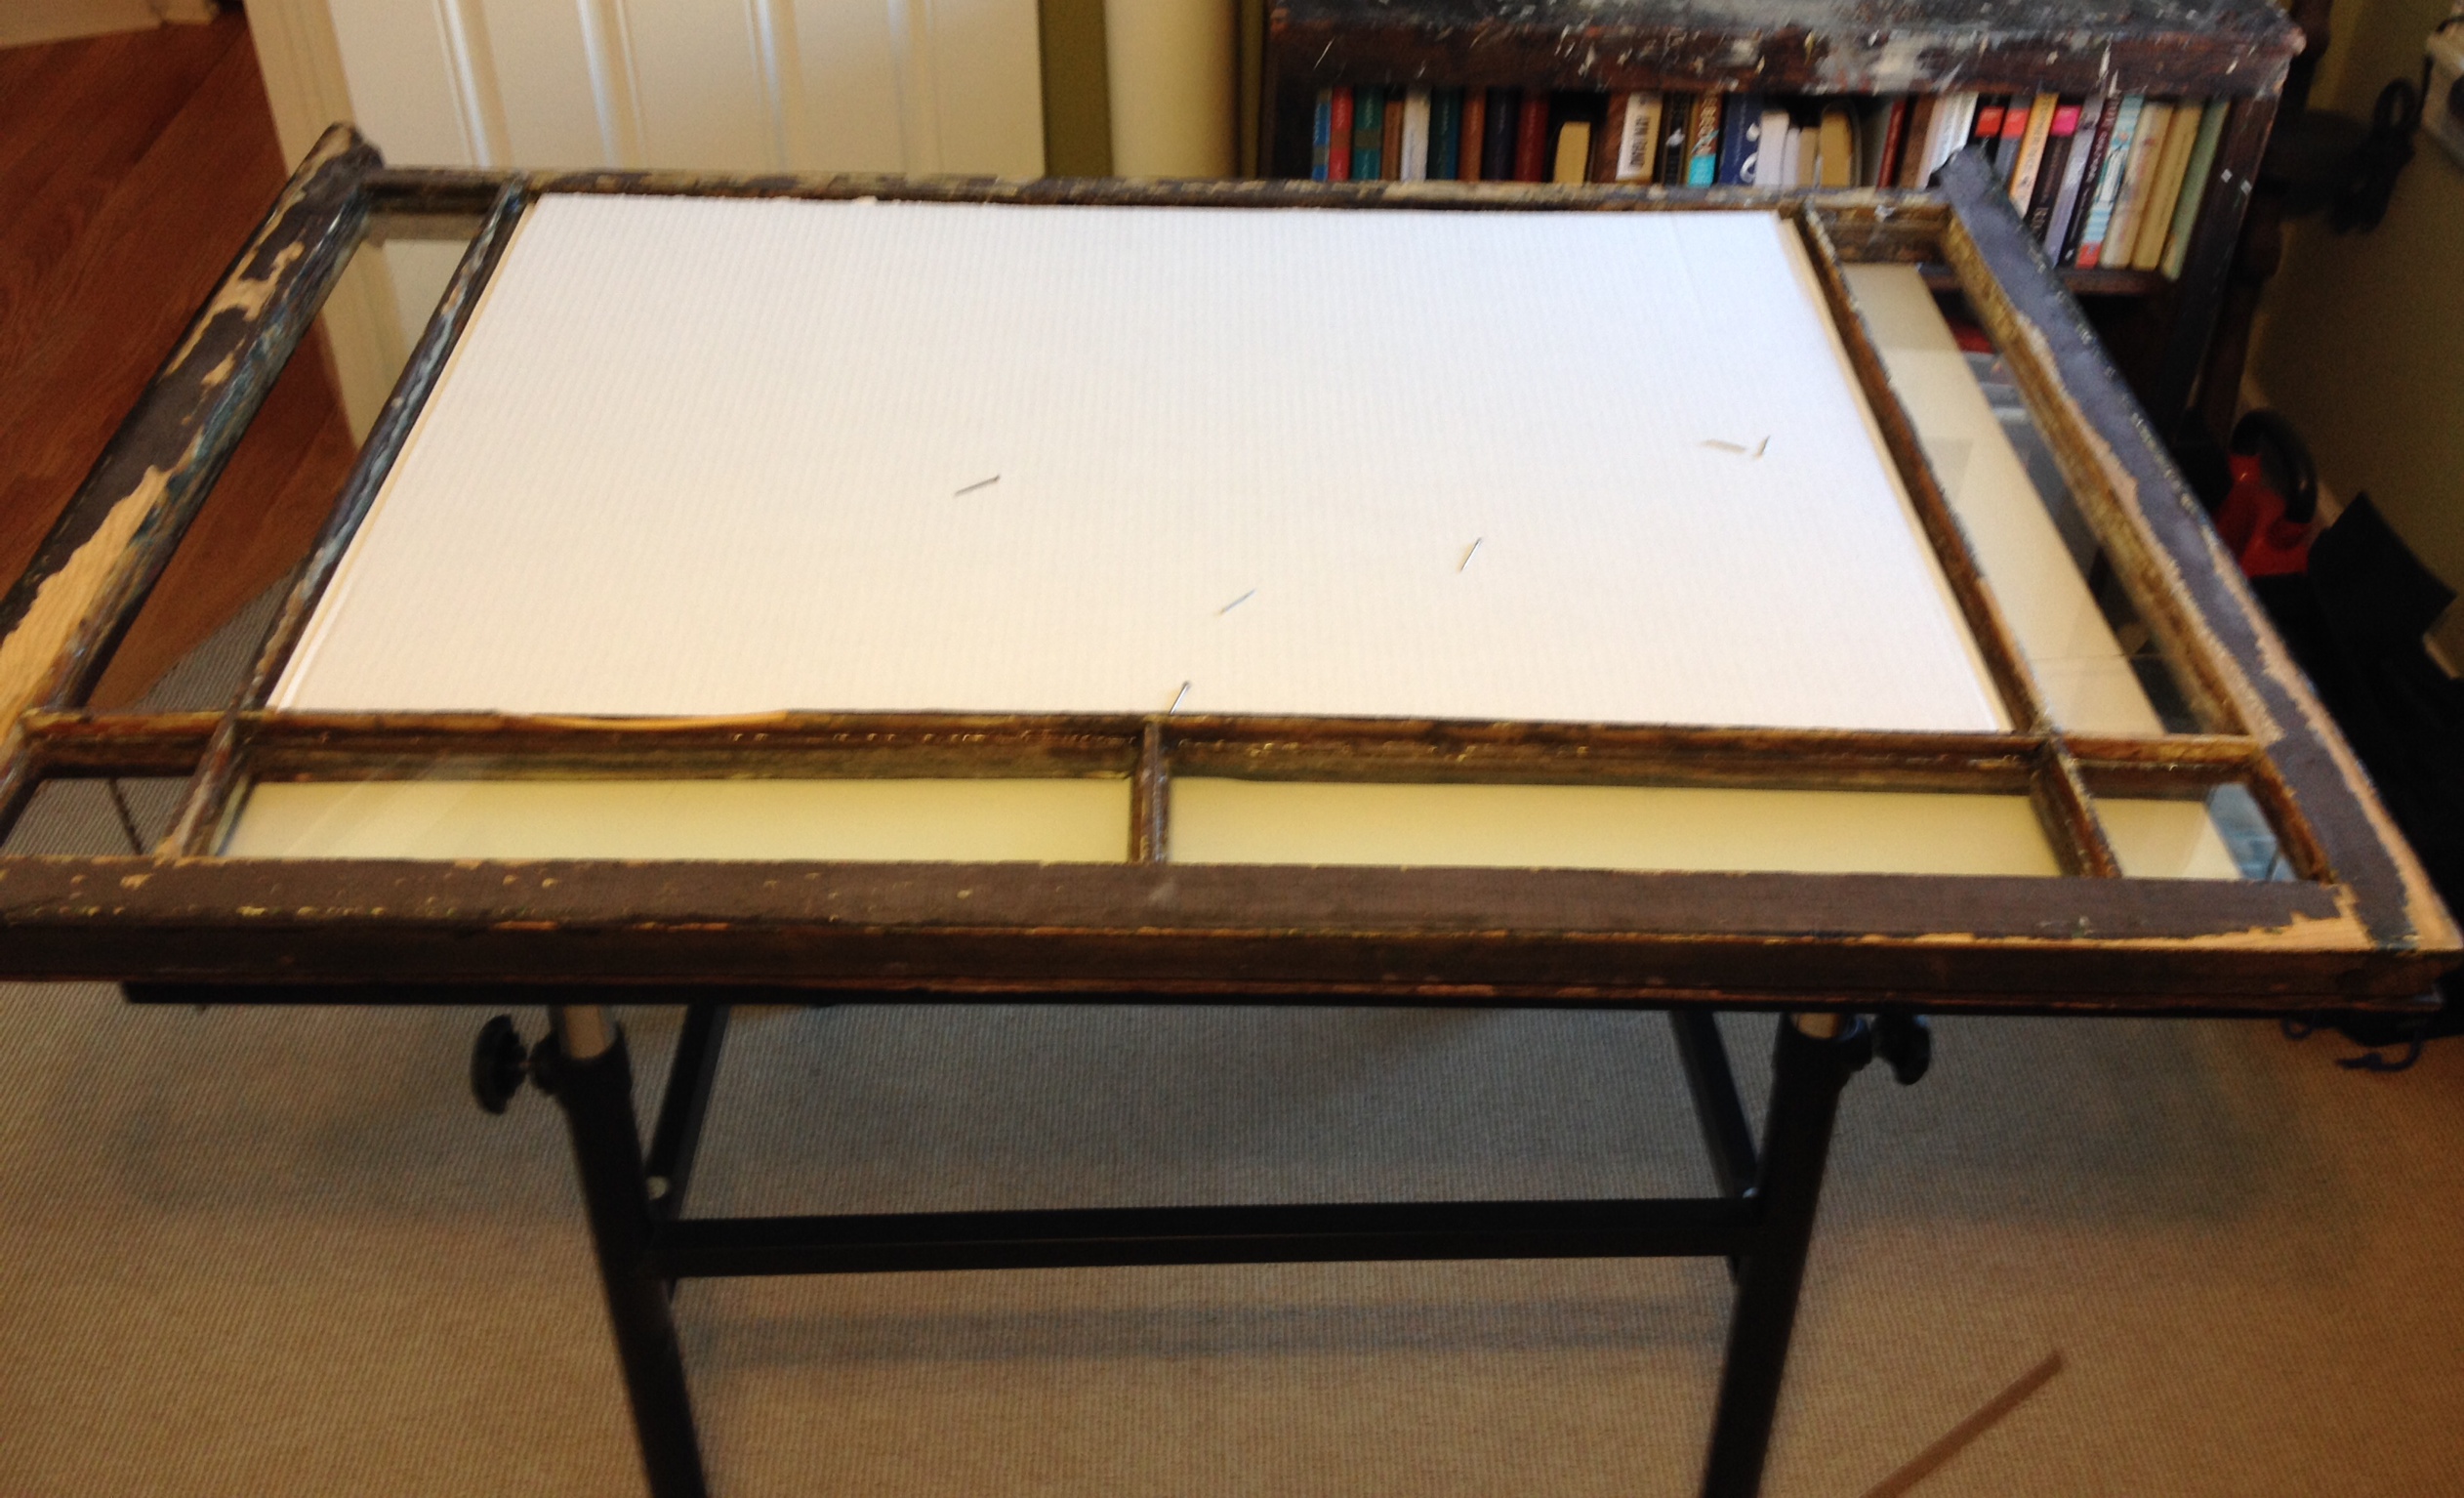 I worked with the image to blow it up to the correct size and had it printed off. I then bought a large piece of cardboard to use as backing and after laying the image in first I placed the cardboard and tacked it in with small tack nails. The best part about this is that whenever I want, I can replace the photograph with something else because it is not permanently installed.
The Finished Product
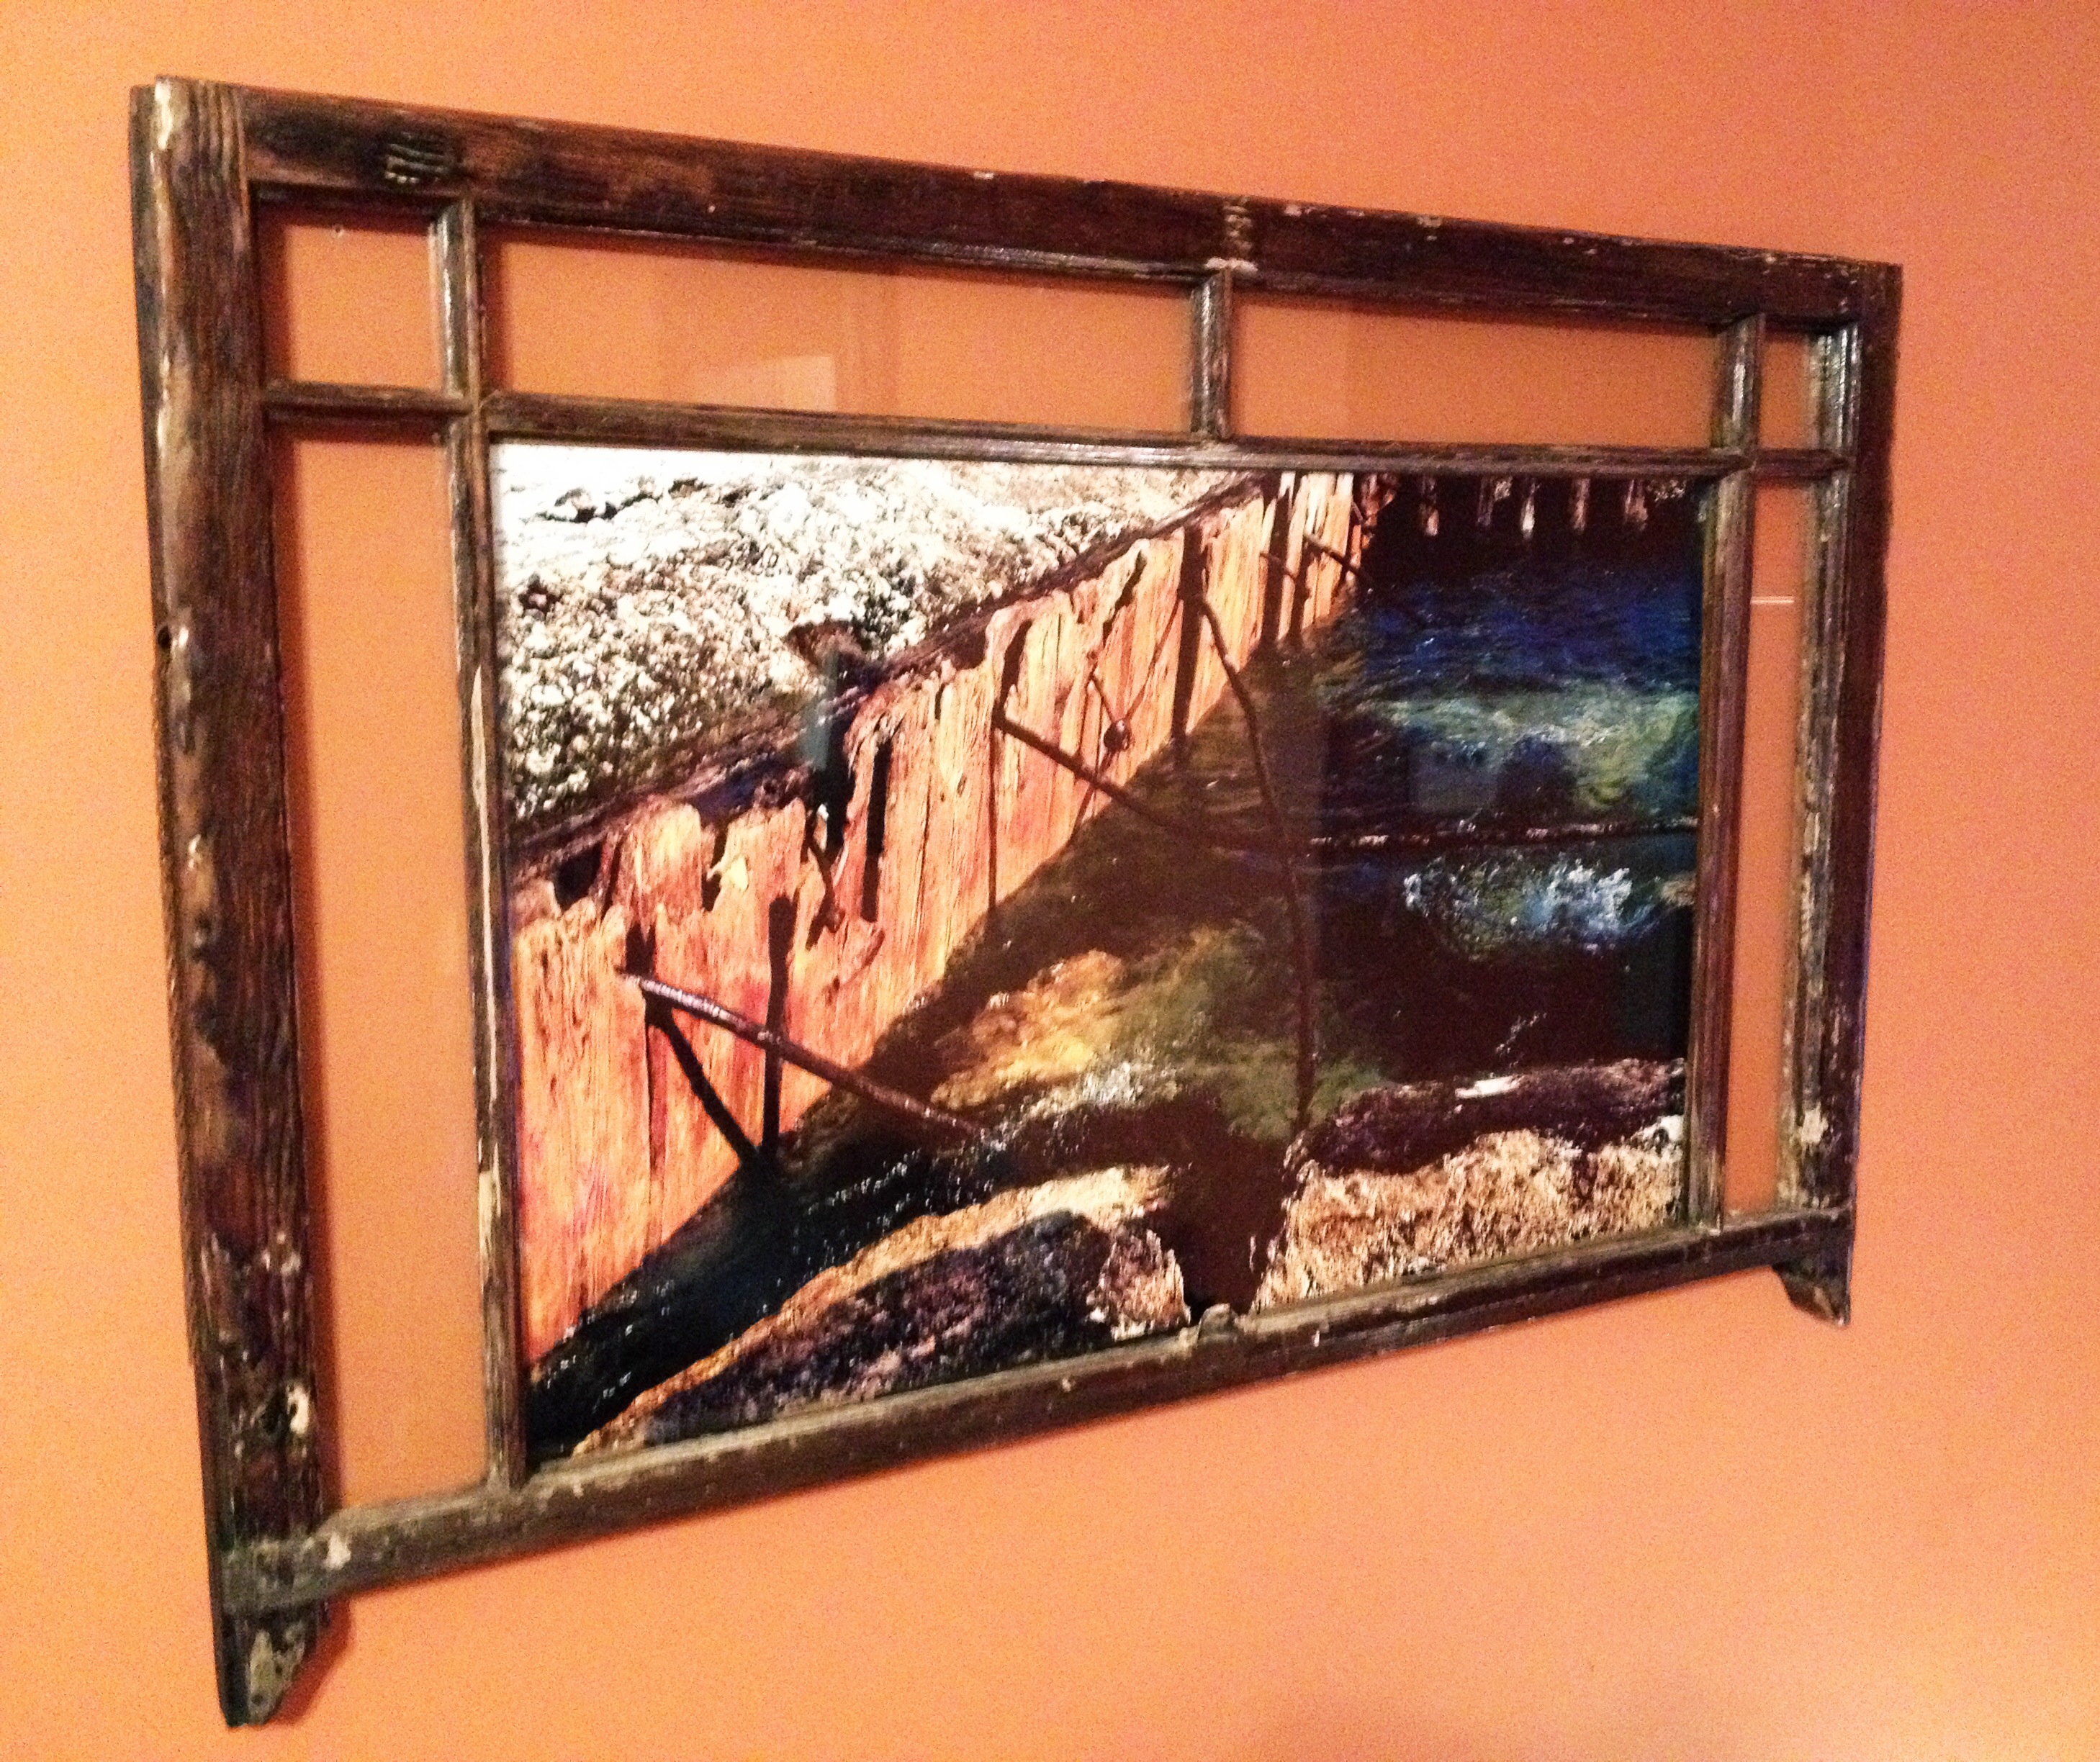 I was so excited when I finally hung up my birthday present to myself. It was exactly what I wanted and was also a way to display my personal photography. Its projects like this one that continue to show me that reusing, saving and restoring old architectural elements can be so rewarding. It is true what they say about one man’s trash being another man’s treasure because this is truly a treasure that will hang in my home for a very long time.
 Jack Pettyjohn is a native of Traverse City, MI. He moved to Chicago in 2006 and graduated from Loyola University Chicago with a Bachelors in Advertising and Public Relations. His passion for restoring historic “treasures” started at the age of 10 when his grandfather gave him his first Antique Electric Fan and since then he always searches for ways to restore the past. For questions and tips please feel free to reach out to him at [email protected]


0 Comments