
The Chicago Event Planner Magazine is excited to have Restoration Guru Jack Pettyjohn share his skills on creatively making a side table out of a used crate. You never know what a client will ask you about and thanks to Jack, you can be even more knowledgeable about everything, including restoration, than you were before!
The Reclaimed Fruit Crate Restoration
The Project
This project came about because I was in the right place at the right time. Sometimes fate steps in and hands you a treasure that does not necessarily have one purpose such as a chair to sit in or a dresser to store your clothes. This one left me open to use my imagination and turn an alley find into a reclaimed treasure. In this situation I took the “junk” I picked and integrated it into something I had been looking to add to my apartment. Thus began the Reclaimed Fruit Crate Restoration.
The Inspiration and the Find are one in the same.
For the last two years I have lived in my current apartment with no side table next to my sofa to set a book, the television remote or a glass of wine. Because my style is so eclectic, I have avoided just going out and buying a piece of furniture to fulfill this need because I wanted it to fit in with my completely unmatched style. In this case, a walk to my friend’s house solved that problem and allowed me to do one of my favorite things — restoring something old.
While on a sunny afternoon walk I stumbled upon an old wooden crate in the alley. Sitting by the garbage, unwanted and in desperate need of a home I picked it up carried it back with me. It was rough, dried out and had nails popping out of the side, but three things about it caught my eye. One, it was just about the right size and height for a side table next to my sofa. Two, it could serve as a shelf / stand / table. Three, it was FREE!
The really awesome thing about junk picking in an alley is that when you find old treasures like this it gives you the chance to be creative and find a new use for it. You have no idea where it came from, what it was used for before or who owned it. You get to make it your own. This piece could have been turned into a shelf screwed into a wall, a dog toy bin, a shoe rack or even magazine holder — so many possibilities!

I chose to go the side table route. Now I just needed to clean it up and see how nice I could make it look.
The Process
Before:
The crate was in pretty good shape. I decided that it really only needed to be cleaned up and oiled. I did not want to fully stain it because I really liked the color of the wood and to fully stain it would be changing the look completely. Plus, staining takes longer and is more expensive where as oil you can rub in with a cloth and it only takes about an hour to soak in.


Tools:
One of the great things about this restoration was how simple it was. I needed a total of 5 things:
• Hard Bristle Scrub Brush
• Bucket with Hot Soapy Water
• Hammer
• Cloth Rag
• Formby’s Tung Oil


1.) Hammering in the nails
This process is pretty self explanatory. There were several nails that had started to pop out because of the age of the crate so I simply tapped them back into place. This ensures that there is nothing to catch yourself on and also helps sturdy up the crate for whatever use it is going to serve.
2.) Brushing down the Wood
Brushing down the wood is really just a way of cleaning off the dirt. I chose this method as opposed to vacuuming or sanding it down because I wanted to keep the rough look of the wood which sanding would have taken away. Brushing does a better job of cleaning off the dirt and spider webs than a vacuum would because the bristles get down into the grain of the wood. It is important to thoroughly brush it down or else when you apply the Tung oil it will really show everything that is left behind.
3.) Washing the Wood
Lets face it, I found this beauty in the alley. While some of the fun is not knowing where it came from, you still want to make sure it is clean and sanitary. I filled a bucket with HOT, soapy water and just took a rag and wiped it down. Remember, wood is a porous material and therefore smells will hold onto the item. Depending on the type of wood, you can add bleach to deep clean for things like Mold and Mildew, but because this wood was so dry to begin with and I did not see any signs of mold, a good wipe down with soap was adequate.
After washing it down I let it sit in the sun for about 15 – 20 minutes to dry out before moving on to the next step.
4.) Oiling the Wood
Using Tung Oil on wood is just like rubbing lotion into your hands. It puts moisture back into the dried out wood and allows you to see the beautiful natural grains that it has. You should typically look at oiling wood furniture at least once a year, especially in homes with forced air because, just like you, your wood furniture will dry out and if left long enough can crack. Because this was more then just a yearly maintenance project I knew I was going to go through more oil than normal. I really wanted to let it soak in and rejuvenate the wooden crate.
I chose to use Formby’s Tung Oil – High Gloss because it is relatively inexpensive and the high gloss would give it the “furniture quality look” I was going for while still keeping it rustic. I found it at my local ACE Hardware but Tung Oil can be found at almost any hardware / home improvement store.
Then the fun begins. You simply take a cloth in your hand, apply a generous amount of Tung oil and start rubbing away. Make sure to go with the grain instead of against it and watch as the wood darkens and goes back to a beautiful shine.
What I loved about this project was that I found a few interesting things along the way:
1.) This fruit crate is roughly 90 years old. As I oiled down the wood, more than just the natural wood grains began to pop out at me. I found stamped into the bottom of the crate the name of the company / owner and date it was stamped. Dan Schuck October 30, 1923.

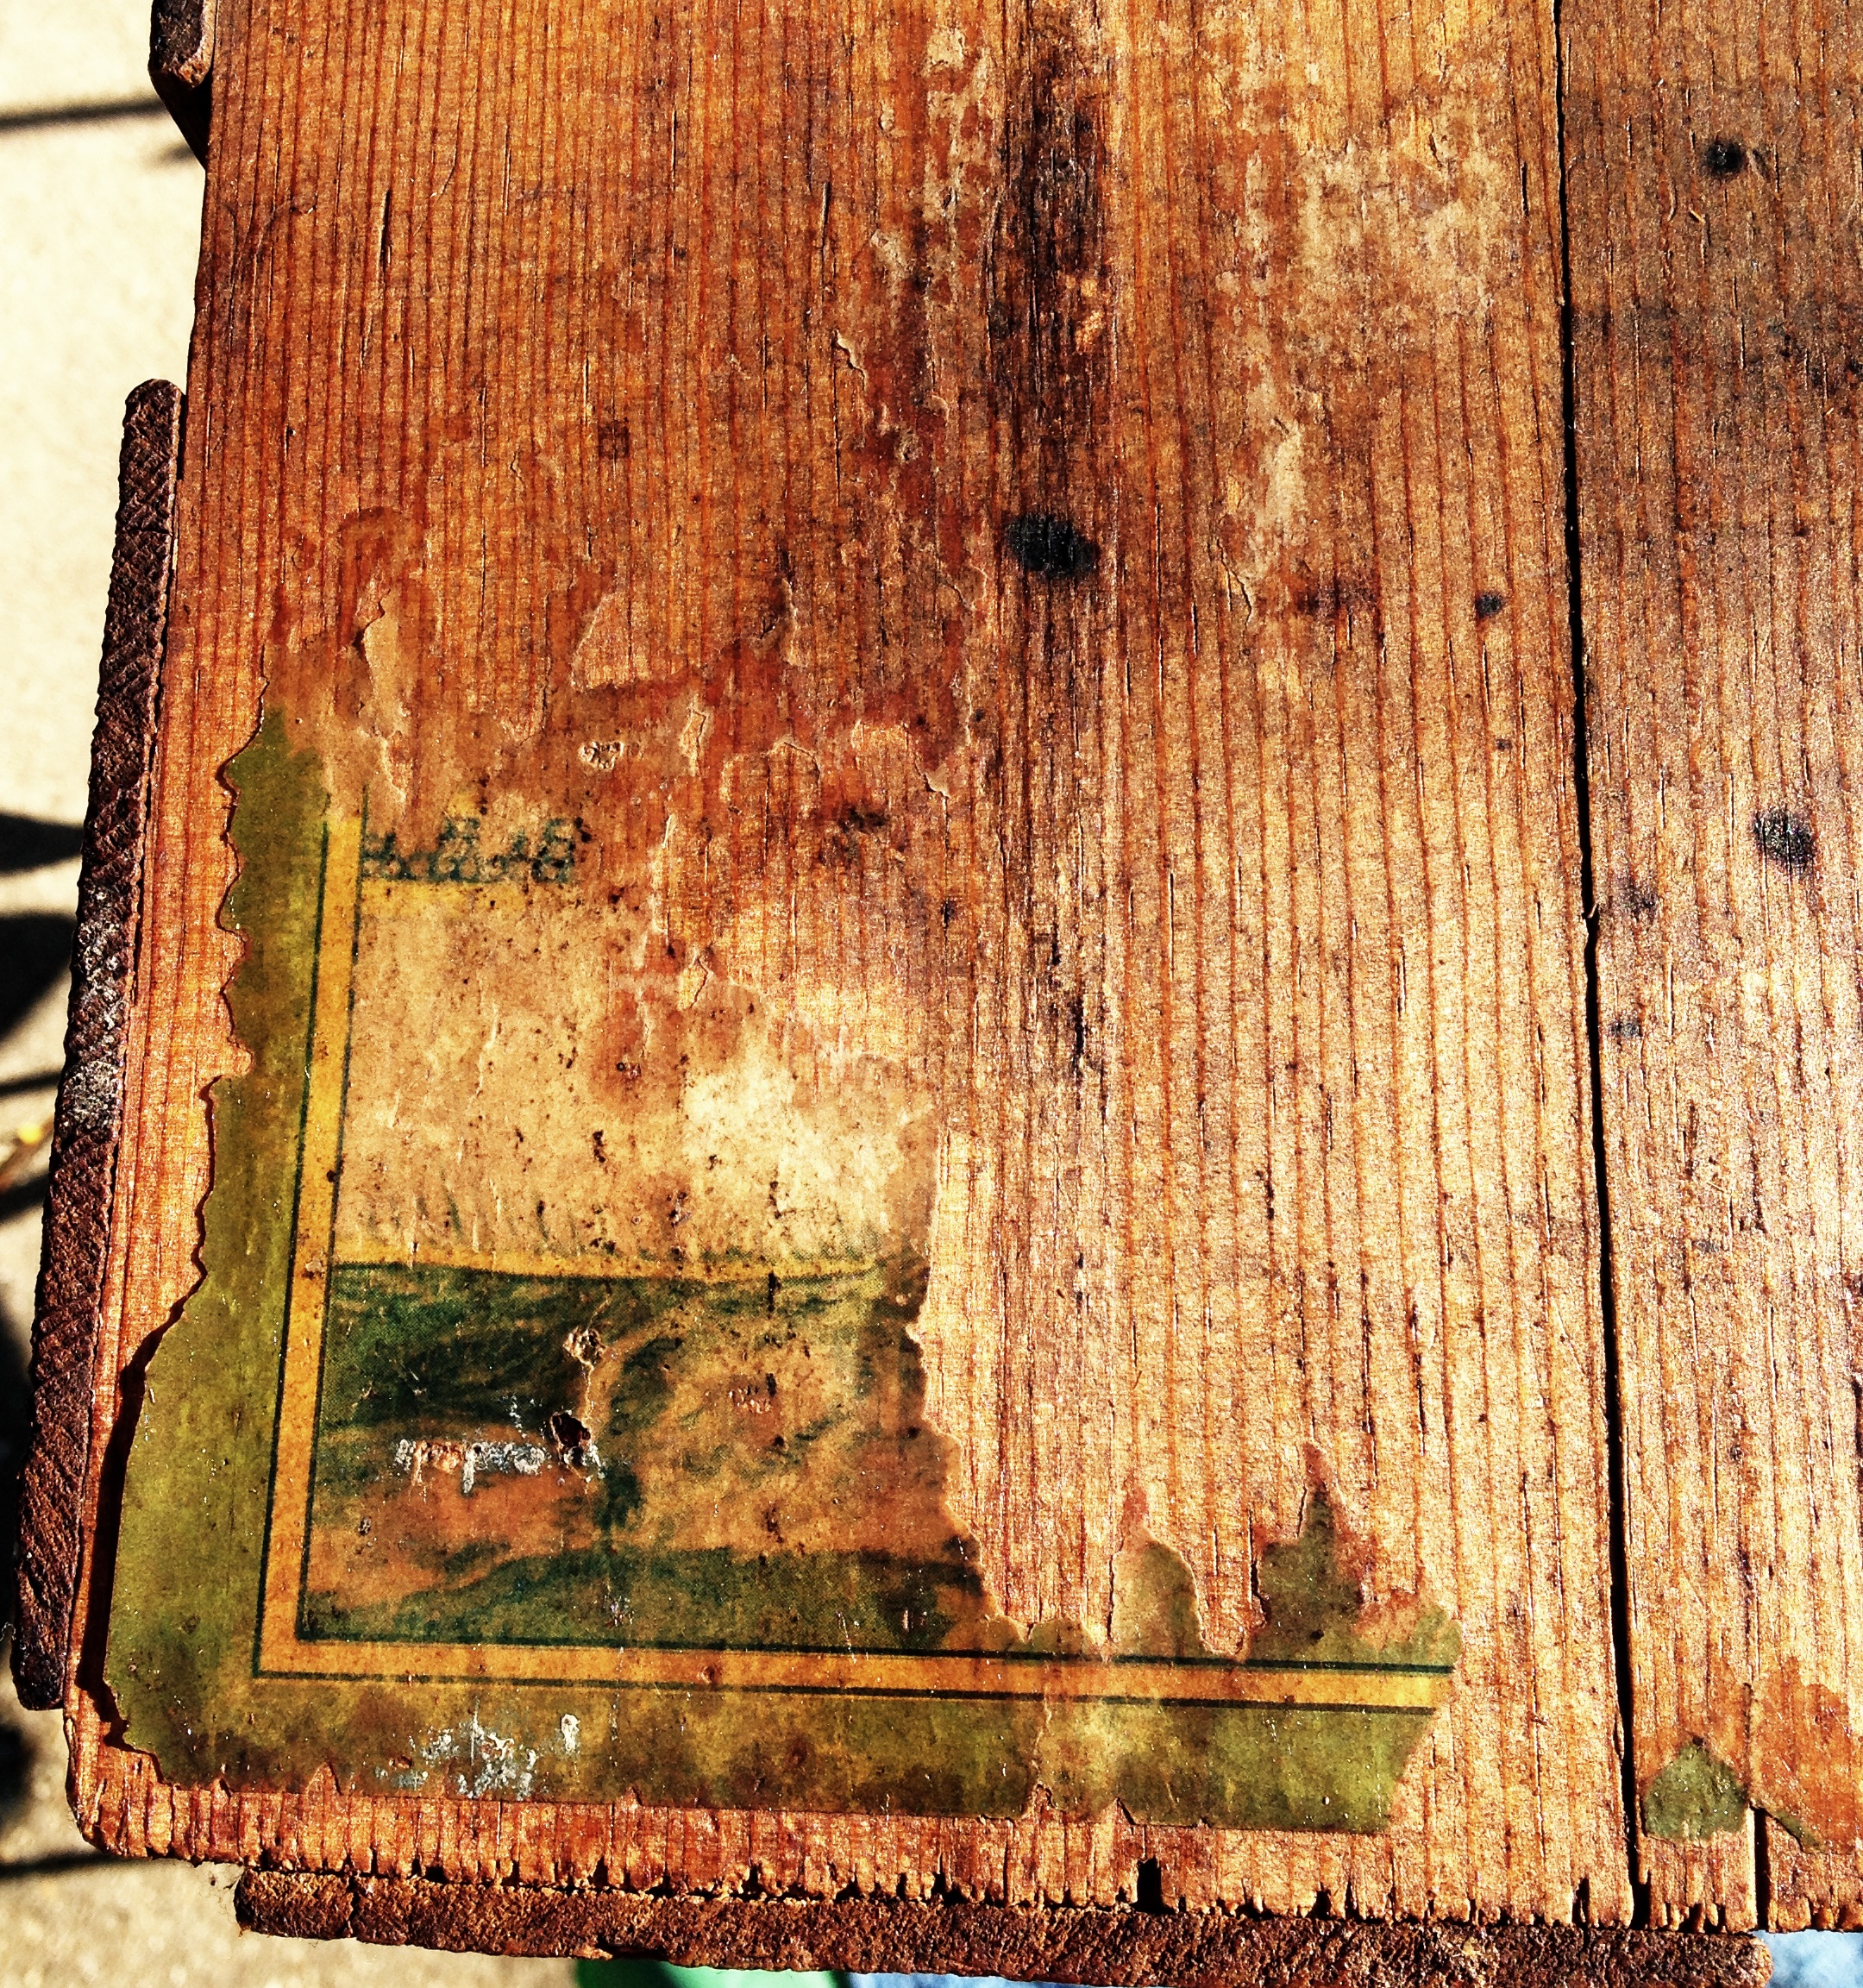
2.) Something else that really popped out after I had oiled everything down was a corner patch of the original label that was on the side of the crate. While most of it was missing, I thought the touch of color and the fact that you can see it would make this the perfect surface for the top of the crate. It gives it more character and is also a conversation starter for when you’re entertaining and showing off all of your reclaimed alley treasures!
3.) Finally, remember to have fun. In this case I chose a warm, sunny fall day to do this project outside with friends around and a little bubbly to get the creative juices flowing! This also brought on inspiration to make a matching wine rack or bar, but I will get to that project another day.

The Finished Product
I loved how this project turned out! The combined process took me one sunny afternoon and solved a two-year-long dilemma on what to set next to my sofa. It really is a great combination of my rustic, eclectic style and a fun conversation piece for when I am entertaining friends and family. I was able to save a 90 year old fruit crate and save a bundle in my piggy bank.


 Jack Pettyjohn is a native of Traverse City, MI. He moved to Chicago in 2006 and graduated from Loyola University Chicago with a Bachelors in Advertising and Public Relations. His passion for restoring historic “treasures” started at the age of 10 when his grandfather gave him his first Antique Electric Fan and since then he always searches for ways to restore the past. For questions and tips please feel free to reach out to him at [email protected]
For all questions related to event planning, Chicago or if you’d like to make a submission to The Chicago Event Planner Magazine, email [email protected]


0 Comments